
How to Glue and De-Glue Pearls
A few days ago, a customer sweetly asked if I must be a young lady with beautiful hands. I laughed and told her the truth: as a jewelry maker, you don’t really get perfect hands — there’s always polishing dust, tiny scratches, and the occasional band-aid.
That same week, an Instagram follower — a jewelry lover and hands-on crafter — DM’d me: “My pearl pendant fell off. Can I just glue it back?” Short answer: yes. And just as important: you can also remove a pearl safely when you need to repair or remake a piece — if you do it the right way.
Below is a bench-jeweler perspective on how to glue pearls, and how to de-glue pearls without cracking nacre or damaging your setting.
Part 1: How to glue pearls (the right way)
1) Dry-fit first
Before you touch glue, test the fit:
-
If the pearl hole is too loose on the peg, glue alone won’t be a forever fix.
-
If the pearl sits crooked or rocks inside the cup, fix the structure first.
2) Clean the metal
Adhesive hates oil. Clean the peg/cup to remove residue from polishing compound, skin oil, or dust.
3) Lightly texture the peg
A tiny bit of texture increases mechanical grip. You’re not trying to “scratch it up,” just give the adhesive something to hold onto.
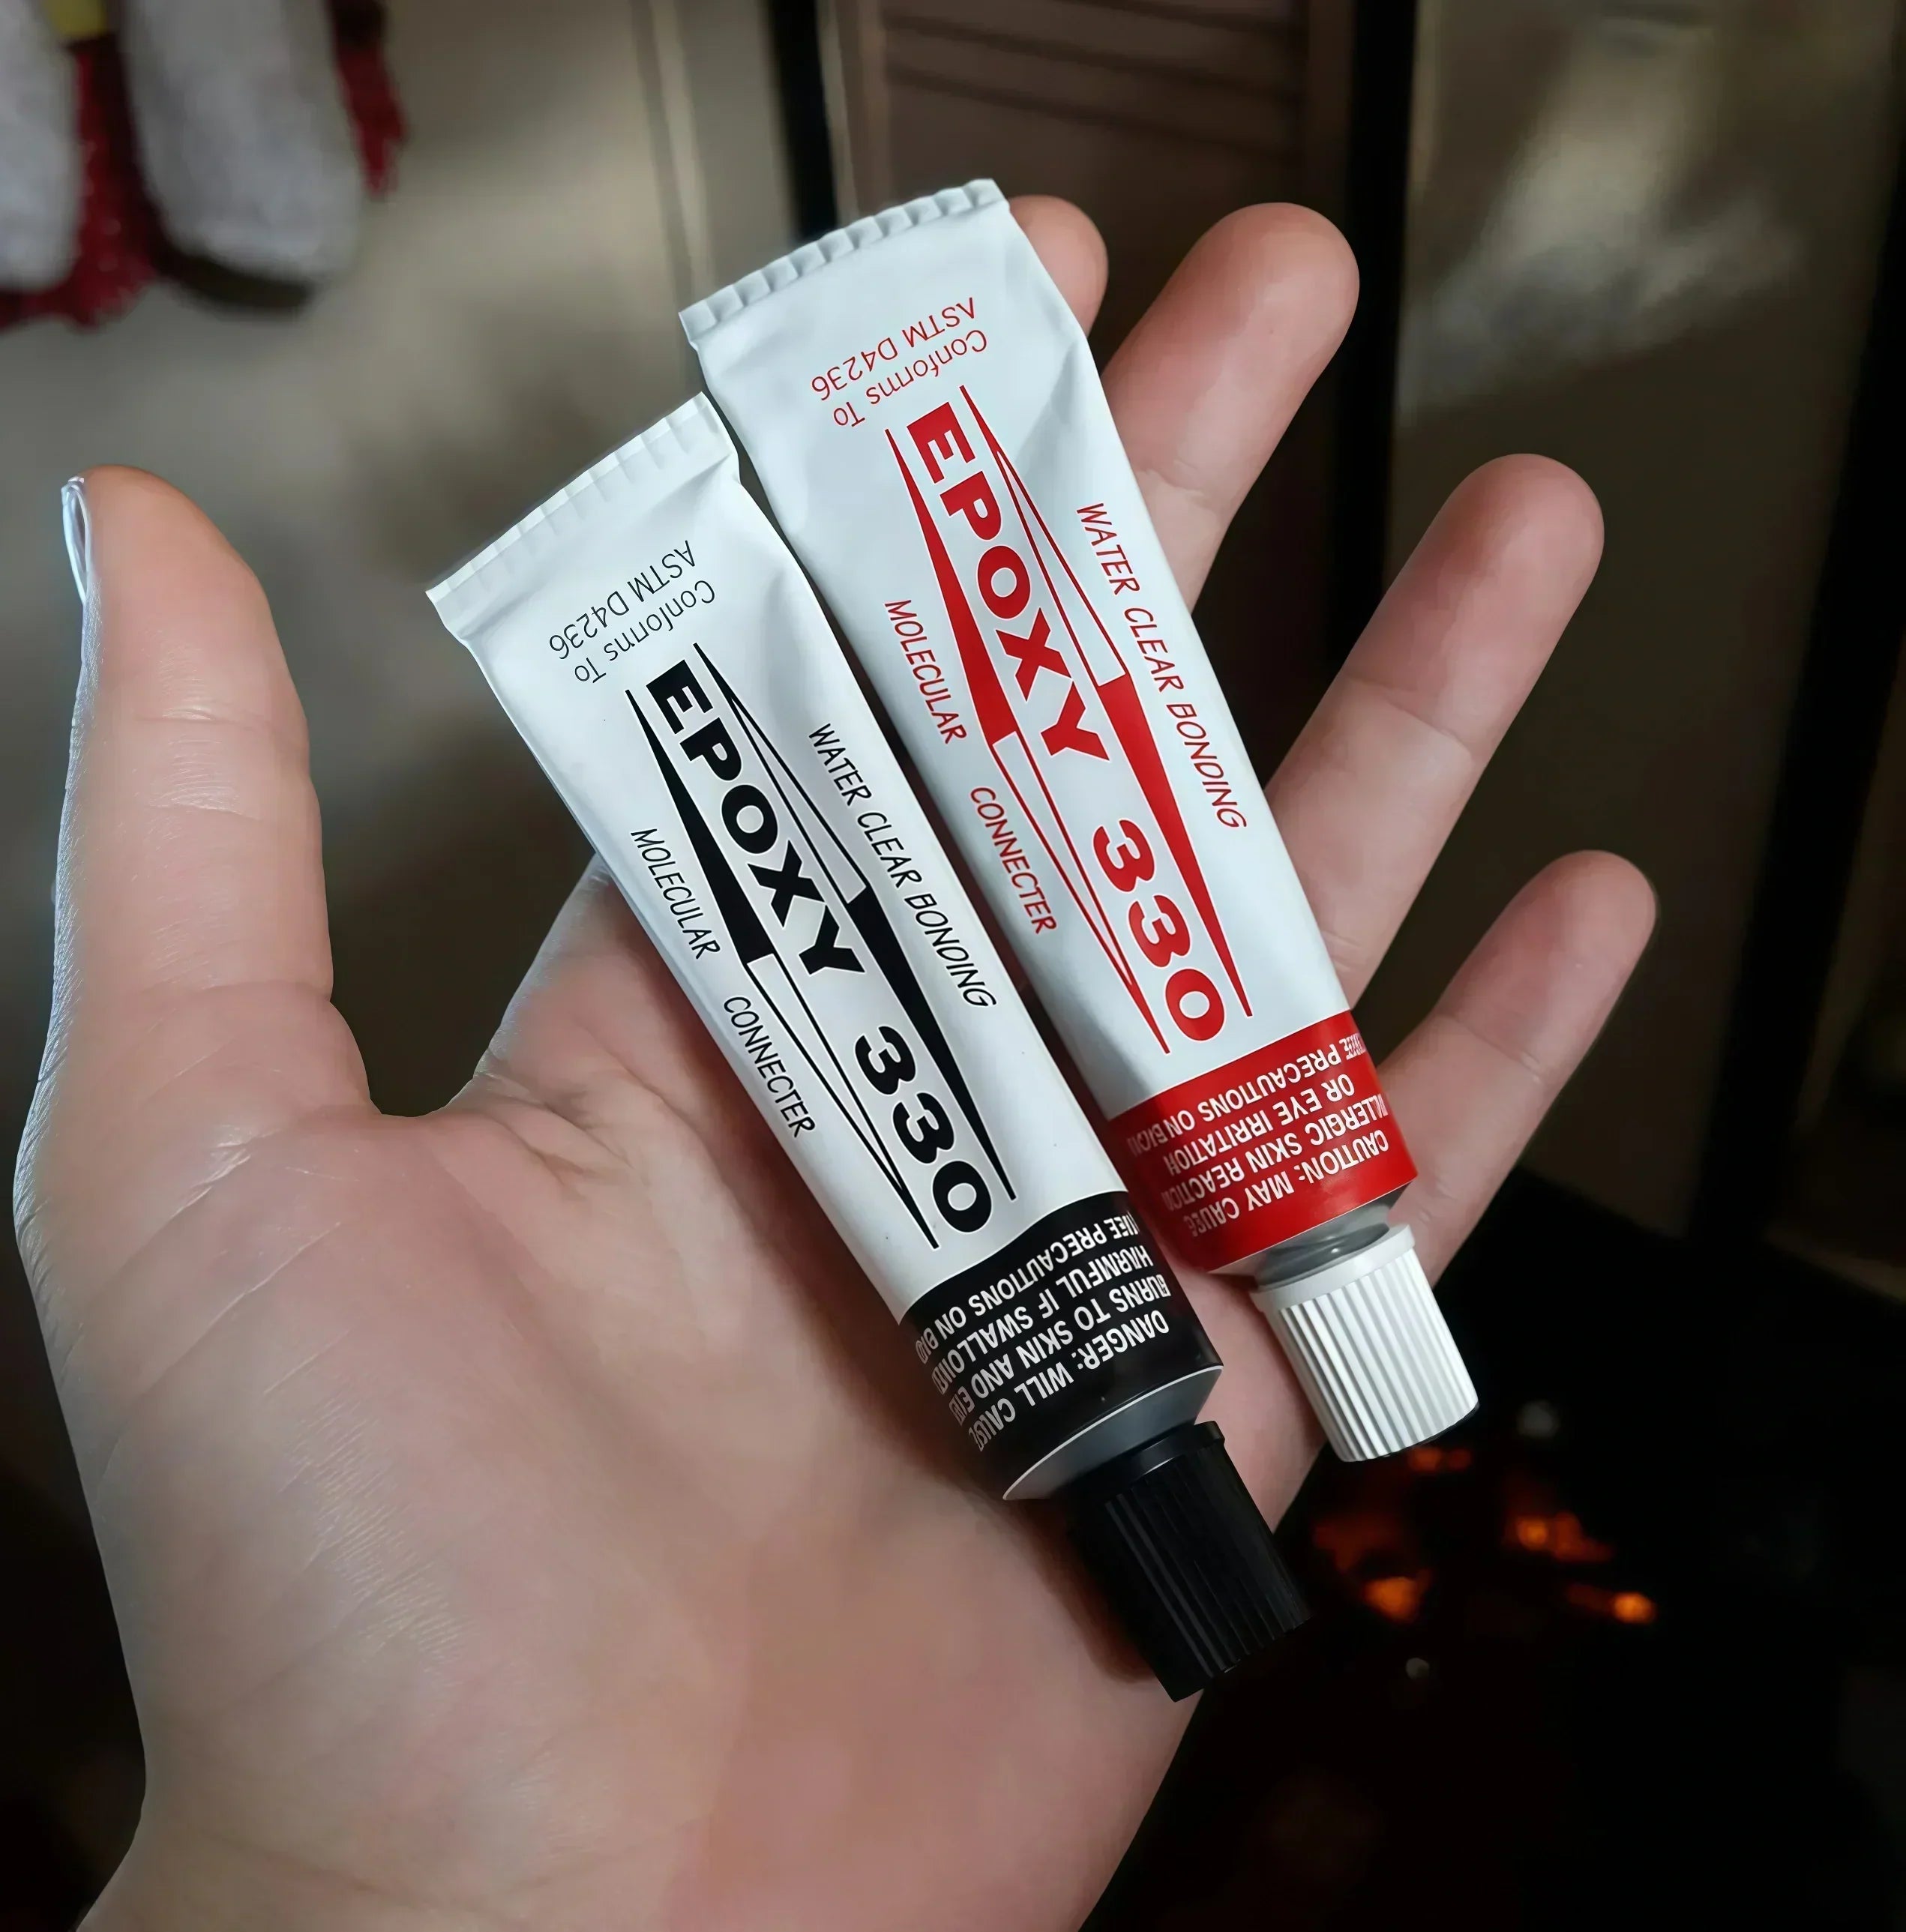
4) Use a slow-cure, clear two-part epoxy
Many jewelers consider Epoxy 330 a common standard for pearl-to-metal bonds.
Avoid shortcuts:
-
5-minute epoxy is often criticized for long-term reliability.
-
Super glue (cyanoacrylate) is usually not a first choice for fine pearl work.
5) Apply a controlled amount
More glue doesn’t mean stronger — it often means messier. Use a small amount so you don’t get squeeze-out around the pearl.
6) Align carefully, then don’t touch it
Position the pearl, make sure the orientation is correct, and leave it completely still while curing.
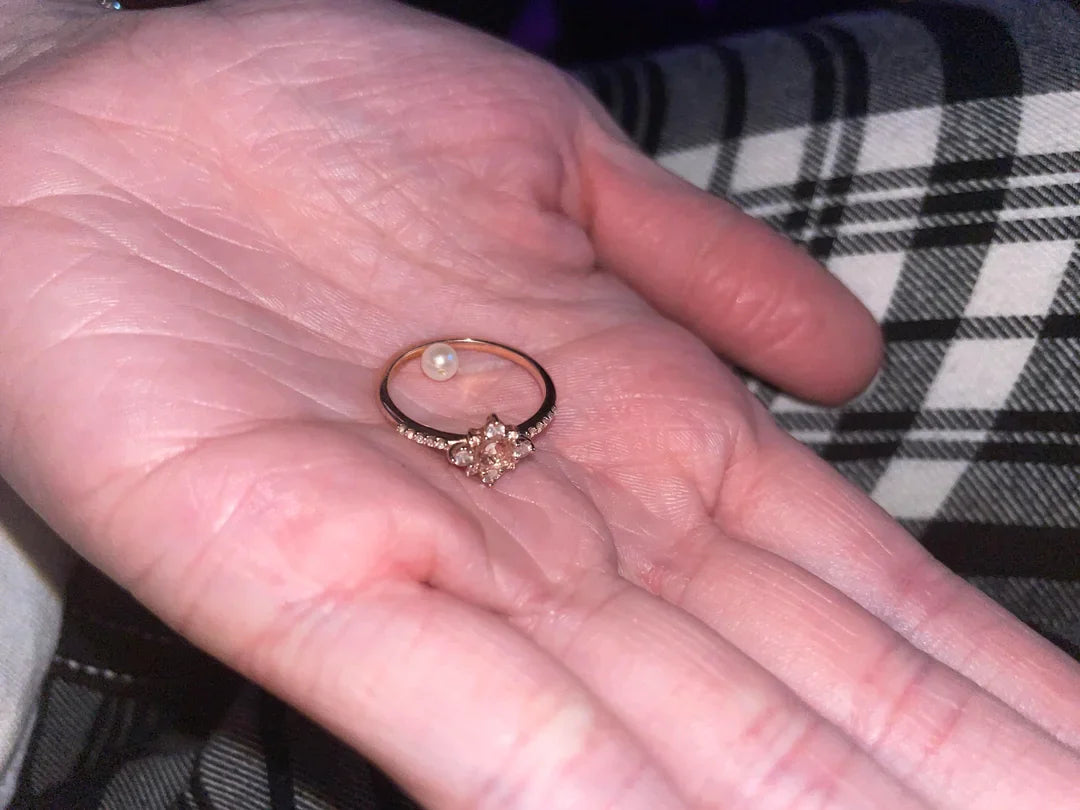
Note for rings: Rings take more impact than pendants. If you’re setting a pearl on a ring, structure matters even more. If possible, choose cup + peg for the best stability.
Part 2: How to de-glue pearls safely
Sometimes you need to remove a pearl to:
-
replace a damaged pearl
-
fix a bent peg
-
rebuild a cup setting
-
upgrade the design
The goal is to weaken the adhesive bond without shocking the pearl (pearls don’t like harsh chemicals, high heat, or aggressive twisting).
The safest approach: gentle heat + patience
Most two-part epoxies soften with controlled warmth. In a professional bench setting, jewelers often use gentle heat to loosen the bond, then remove the pearl with careful, steady pressure.
What to avoid:
-
Boiling water (too much thermal stress)
-
Open flame (risk of scorching nacre, damaging metal finish, or cracking)
-
Acetone and strong solvents (can be risky for pearls and certain finishes)
-
Hard twisting (the fastest way to chip nacre at the drill hole)
A practical, low-risk removal mindset
-
Support the setting, not the pearl.
-
Apply slow, controlled pressure (never sudden force).
-
If it doesn’t move, don’t “fight” it — that’s when pearls crack.
-
If the pearl is valuable or the piece is sentimental, it’s worth treating it like repair work, not a DIY experiment.
What usually happens when a pearl “won’t come off”
If the adhesive was done well and the structure is good (cup + peg), removal will naturally be harder — which is a good sign for durability, but it means you should treat removal as a careful bench job.
Quick checklist: glue vs. de-glue
Glue (repair or new build)
-
dry-fit the pearl
-
clean the metal
-
lightly texture the peg
-
use slow-cure clear epoxy
-
align and let cure fully
De-glue (repair or remake)
-
avoid harsh chemicals and boiling
-
avoid twisting the pearl aggressively
-
use gentle, controlled methods
-
when in doubt, treat it as professional repair
Why prongs are rare for pearls
Pearls are softer than many gemstones and can scratch or chip more easily, so prongs are not a common choice for most pearl jewelry. Instead, pearl pieces usually rely on mounting styles that protect the pearl and maximize surface contact (which also makes the bond stronger).
The two most common structures: peg vs. cup
Peg setting (post + adhesive)
This is the most common option for pearl studs and many pendants. A slightly textured peg helps the adhesive grip.
Cup setting (support + adhesive)
A cup supports the pearl’s base and increases contact area.
Best for durability: cup + peg
If the design allows, a cup + peg combination gives you the strongest structure because the pearl bonds to both surfaces — especially useful for larger pearls or heavier baroque shapes.
Need help with repair or a remake?
If your pearl pendant fell off, your ring needs rebuilding, or you want to upgrade the setting, visit our Jewelry Restore page — we offer mail-in restoration and remake services.
If you want, tell me what type of piece you have (stud / pendant / ring) and the pearl size, and I can suggest the safest mounting or repair path.


1 comment
Mabe pearl needs to be glued back onto round 14 carat gold base
Hannah
Leave a comment
This site is protected by hCaptcha and the hCaptcha Privacy Policy and Terms of Service apply.