

Epoxy 330 for Pearls: A Practical Studio Guide
A client once messaged me in a mini panic: her child had been playing with her pearl studs, and one pearl slipped off the post.
She asked, “What glue should I use so this doesn’t happen again?”
I gave her the quick, practical fix — and realized this little guide could save a lot of people the same headache.
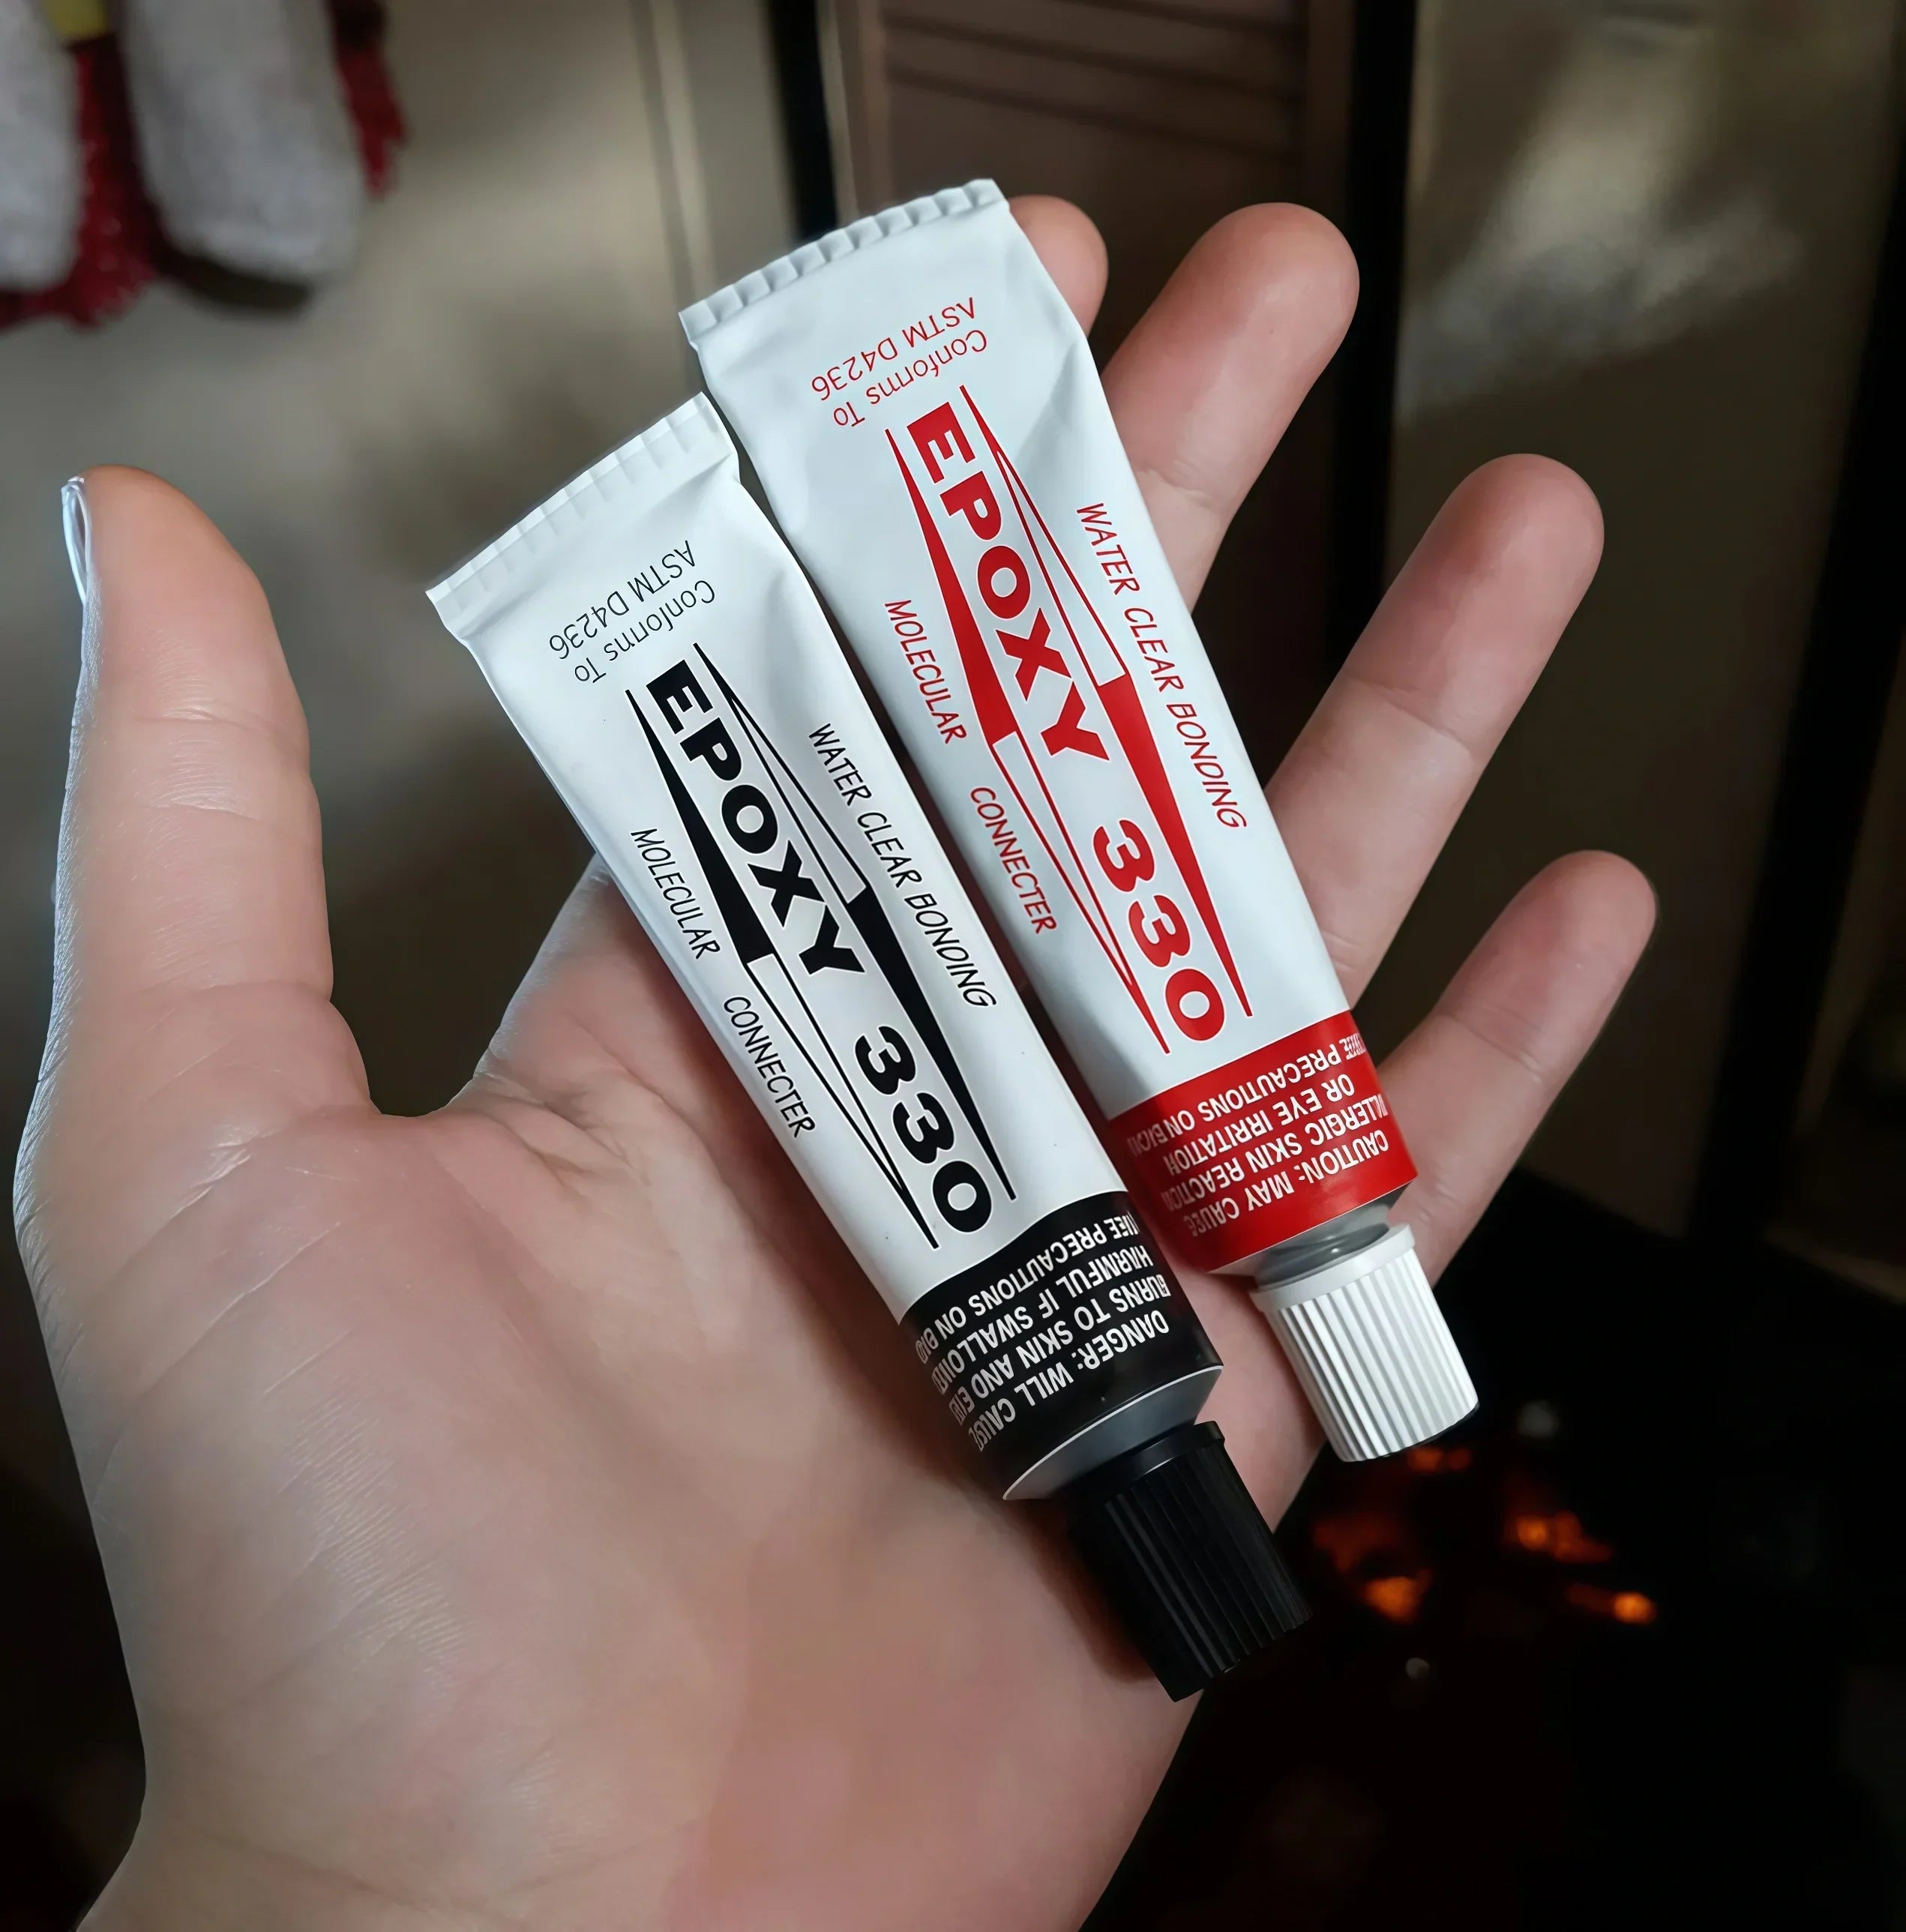
In my studio, Epoxy 330 is a reliable option for pearl studs and other peg/post settings. It’s a water-clear, two-part epoxy often used in jewelry for clean, nearly invisible bonds and strong stone-to-finding adhesion. If you want to read the standard product overview and specs, you can see it at Rio Grande or Esslinger.

Key specs to know
- Mix ratio: equal parts resin + hardener.
- Pot life: about 15 minutes (mix small batches).
- Room-temp cure: about 2 hours to set.
- Heat assist: gentle warmth around 100°F/38°C can speed cure in roughly 10 minutes.
The most important rule (before glue)
Fit matters more than brand. If the pearl hole is noticeably larger than the post, even a great epoxy may fail over time — especially with heavier pearls. This comes up often in jeweler discussions. For community notes on pearl adhesives and why some people avoid quick fixes, see the conversation on Ganoksin.
Quick method for pearl studs
- Dry-fit first: the pearl should sit snugly without wobble.
- Clean the metal post to remove oils or residue.
- Optional: lightly micro-texture the post for better grip.
- Mix equal parts thoroughly on a clean surface.
- Apply a thin coat to the post (avoid flooding the hole).
- Seat and align the pearl; wipe excess immediately.
- Don’t move it while setting.
Heat tip (safe and simple)
If you use a heat lamp, keep it gentle and stable. If you don’t have one, a warm, safe spot at home can help — but the real priority is zero movement. You definitely don’t want the post and pearl to drift out of alignment. When in doubt, letting it rest overnight is the calmest, safest approach.
How to avoid clouding
- Measure as evenly as you can.
- Mix slowly and completely until uniform.
- Keep tools and surfaces clean.
- Work in a comfortably warm room if possible.
Quality note
Not all “epoxy kits” are equal. If you’ve had bad luck with inconsistent brands, stick to reputable jewelry suppliers and check freshness. A helpful community thread on choosing pearl-friendly adhesives can be found at Pearl-Guide.
If you need jewelry repair, pearl finding replacement, or a style update, please visit our Jewelry Restore page — we offer mail-in restoration and remake services.


Leave a comment
This site is protected by hCaptcha and the hCaptcha Privacy Policy and Terms of Service apply.