
Pearl Glue Guide: Easy DIY Pearl Ring Repair in 2026
Pearl Ring Repair: DIY Repairing a Pearl on a Ring is Easy and Covered in This Detailed Manual for 2026.
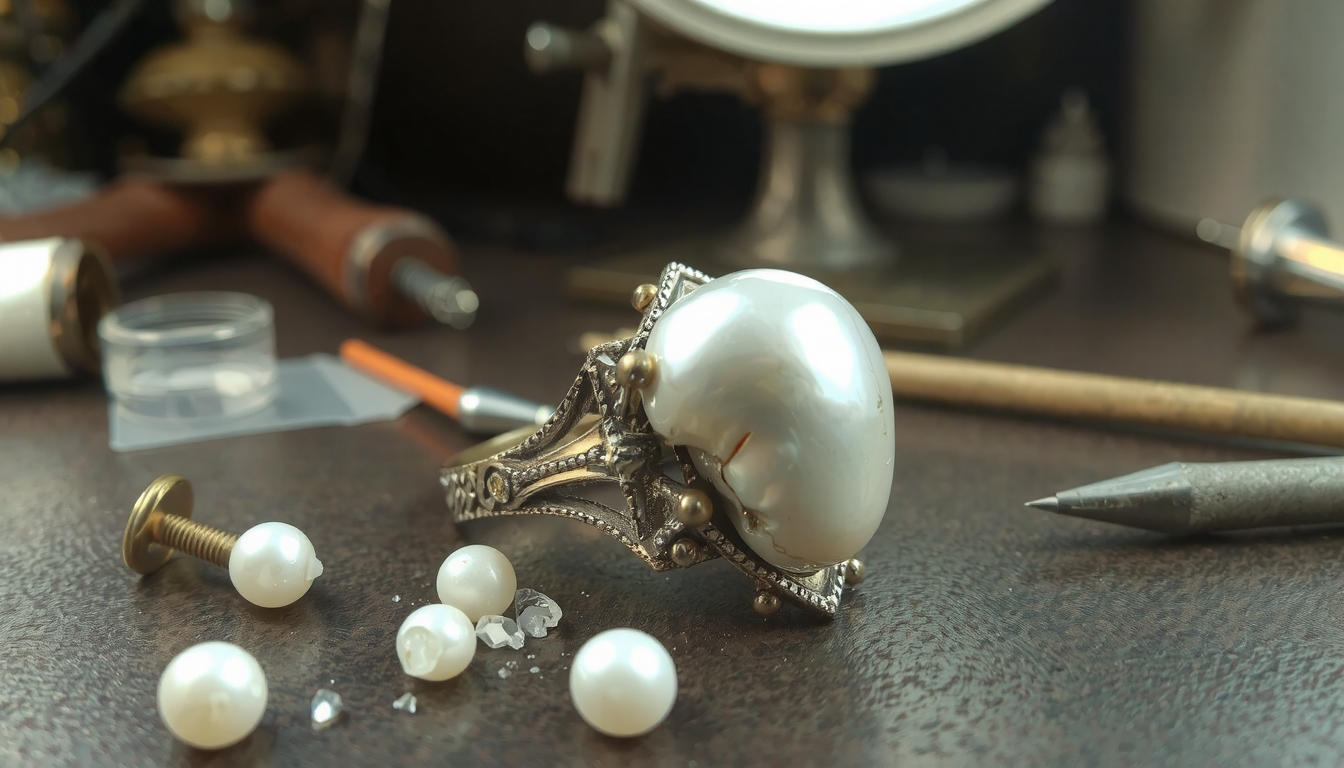
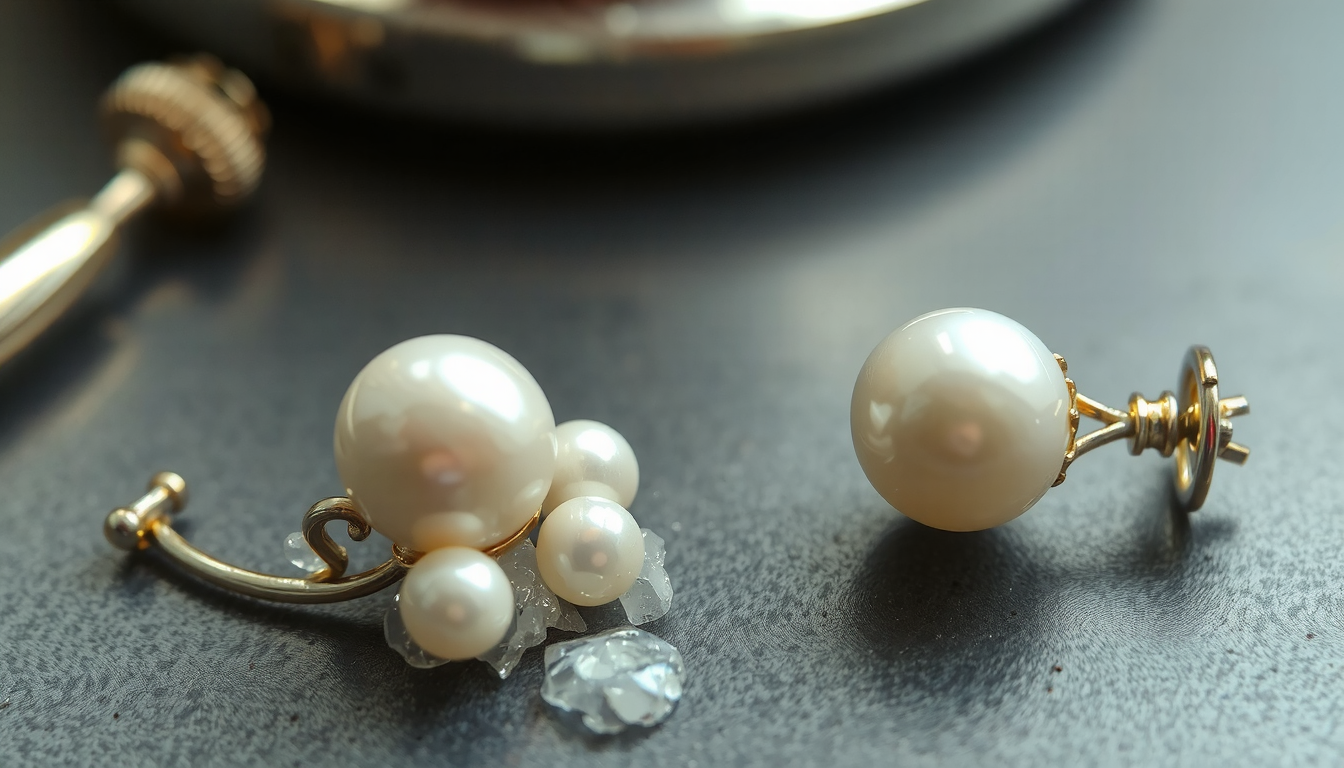
Last week, a worried-looking customer came to us. She had accidentally bumped her hand against the counter and lost the pearl from her favorite ring. Fortunately, she found it on the floor. This is a very common issue.
Pearls are soft stones with a delicate surface called nacre. To protect them, many rings use a special glue on a post or in a cup. They don't use metal prongs because those can chip or scratch the pearl. This design means a strong impact during sports or day-to-day life can sometimes result in the pearl falling out.
Finding the right jewelry glue for pearls can feel confusing at first, but we are going to help you. With the right glue and careful steps, you can return the pearl to its place quickly and effortlessly.
- Key Takeaways
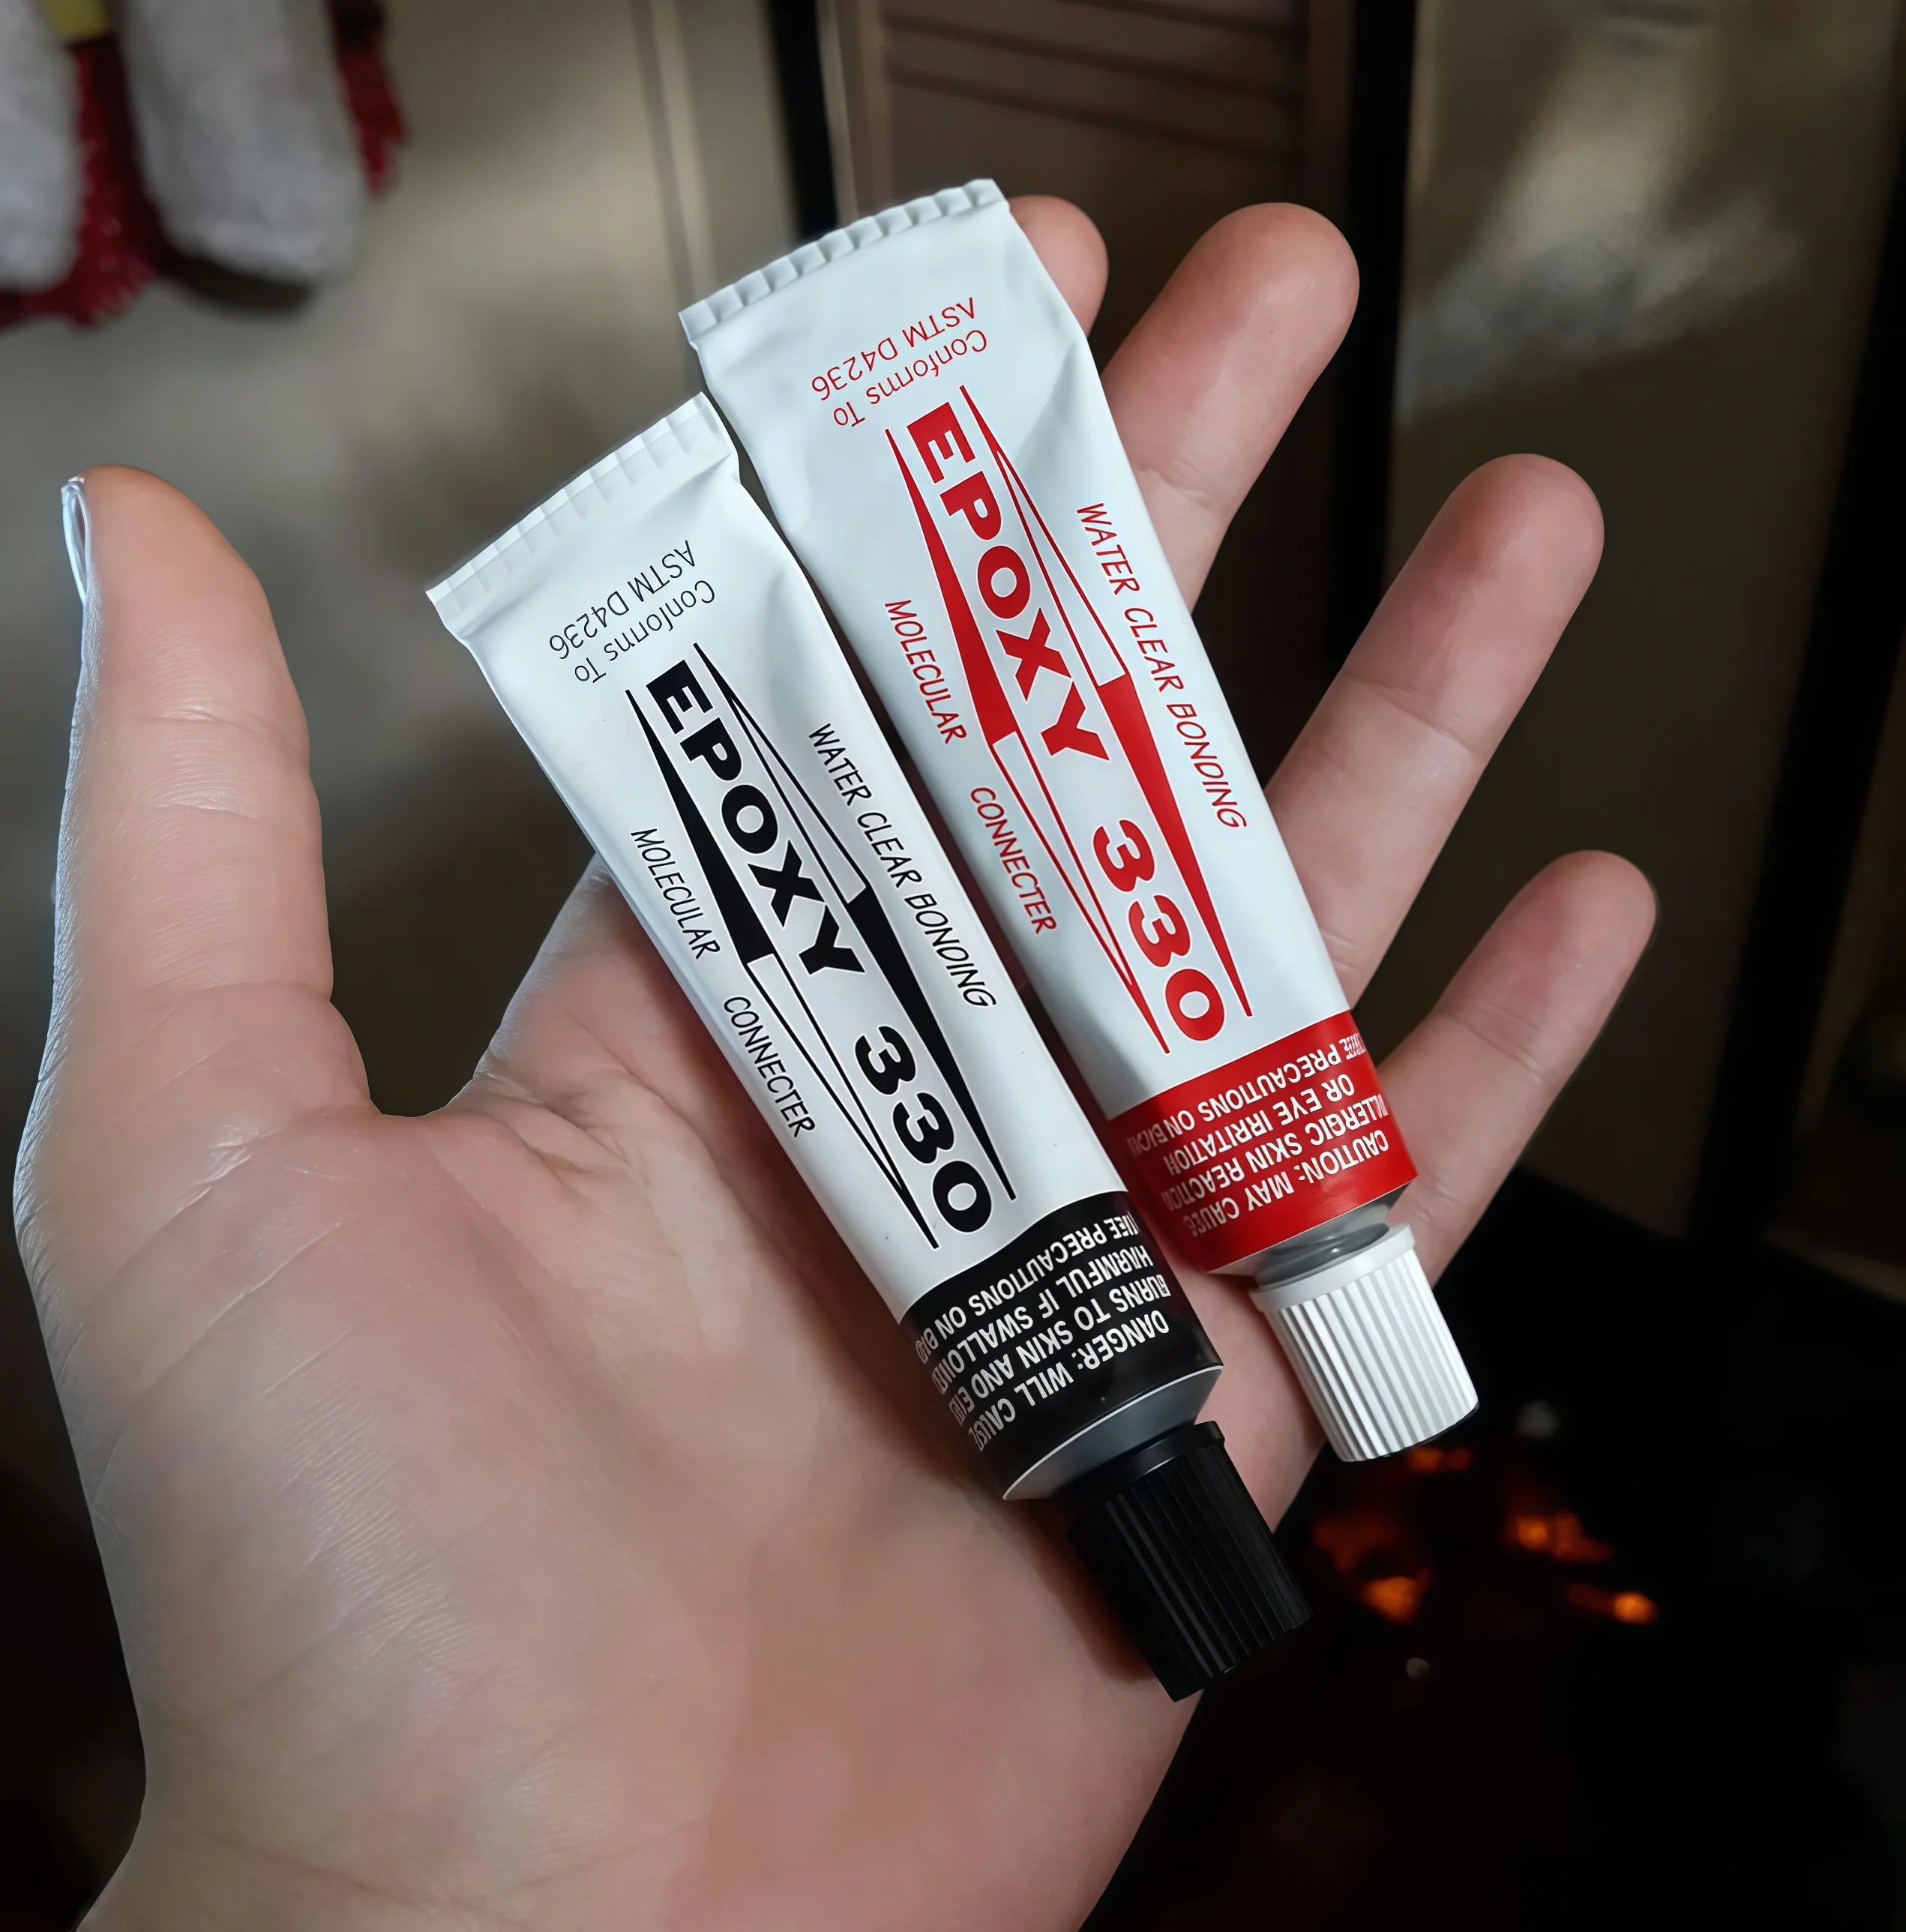
- Use a two-part slow-curing jeweler's epoxy to make the strongest bond.
- Super glue is not for pearl jewelry. It breaks easily and can damage the item.
- The most important step for the longest-lasting fix is cleaning the metal setting and the pearl.
- Always consult a professional jeweler if the ring is of significant value, antique, or broken.
- You must wait for the full curing time (usually 24-72 hours) before wearing the ring again.
When to See a Professional Jeweler
Before you go ahead, know when a DIY fix is not the best choice. Getting a professional to repair your precious jewelry is the safest option.
See a jeweler if:
- The ring is an antique, has significant value, or is specially meaningful to you.
- The pearl is cracked. Additionally, the drill hole looks stripped or too big.
- The metal setting is damaged. Check if the post is bent, broken, or loose. If the cup is bent, glue alone won't fix a structural problem.
- You do not feel confident doing a delicate repair. It's always better to be safe.
Choosing Your Glue: A Comparison of Glues for Pearls
Choosing the right glue is very important to ensure a lasting repair. You can see this topic discussed a lot in jewelry forums. The options can be confusing.
First of all, a short note about the term "pearl glue." In the old days, pearl glue was a traditional glue made from animal products. This included bone glue, used in woodworking and antique restoration. For modern jewelry, we need a special glue designed for non-porous materials.
Many people want to use super glue. We really don't recommend this for pearl rings. Although some people report short-term success, most jewelers avoid it. Super glue creates a bond that becomes very brittle and can be easily broken by impact or moisture. The vapors from super glue can also leave a cloudy white residue on the pearl and metal.
Here is a comparison of the top choices discussed by professionals and hobbyists to help you choose the best jewelry glue for pearls.
| Adhesive Type | Bond Strength | Clarity / Residue Risk | Flexibility | Cure Time (Set / Full) | Water Resistance | Ease of Cleanup | Reversible? | Best For... |
|---|---|---|---|---|---|---|---|---|
| Two-Part Epoxy (Slow-Cure) | Very High | Excellent (dries clear) / Low risk if neat | Some flex (shock absorbent) | 30-60 min / 24-72 hrs | High | Difficult once cured; use alcohol when wet | Difficult | Best overall choice. Half-drilled pearls on posts, cup settings. Creates the strongest, most durable bond. |
| "Jeweler's Epoxy" (e.g., Devcon 5-Min) | High | Good (dries clear) / Low risk | Less flexible than slow-cure | 5-10 min / 1 hr | Moderate to High | Difficult once cured; use alcohol when wet | Difficult | Good for quick repairs, but the bond isn't as tough as slow-cure epoxy. Good for posts and cups. |
| G-S Hypo Cement | Moderate | Excellent (dries clear) / Low risk (precision tip) | Good | 10-15 min / 24 hrs | Low to Moderate | Easy with rubbing alcohol when wet | Yes, with acetone (but DANGER for pearl) | Small, delicate work. Best for tiny pearls or when a reversible bond is needed. Not ideal for rings that see heavy wear. |
| E6000 | High | Good (dries clear) / Medium risk (can be stringy) | Very Flexible | 5-10 min / 24-72 hrs | High | Difficult once cured; use alcohol/acetone when wet | Yes, with effort | Popular in crafts. Good gap-filler, but can be messy to apply. Its flexibility is a pro, but some find the bond too "gummy." |
Your DIY Pearl Repair Toolkit
Getting the tools you need ready at the start will make the process much smoother. Here is a brief checklist of what you will need.
- Your chosen jewelry glue (from the table above)
- Rubbing alcohol
- A soft, lint-free cloth
- Toothpicks or a pin
- A small dish or piece of scrap cardboard (for mixing epoxy)
- Modeling clay, a foam block, or masking tape (to hold the ring steady)
- Magnifying glass (optional, but very helpful)
How to Glue Your Pearl Back On: A Step-by-Step Guide
Now that you have collected your tools, you are all set to make the repair. Follow these steps carefully for a professional result.
Step 1: Examine the Ring and Pearl
Scrutinize the setting well. Is the post straight and secure? Is the cup perfectly round? If you see any damage to the metal, stop and take it to a jeweler. Also, check the pearl's drill hole for any old glue or debris that needs to be removed.
Step 2: Clean the Surfaces (Very Important)
A clean surface is a prerequisite for achieving a strong bond.
For the Metal Setting (Post or Cup)
Dip a cotton swab or the corner of your cloth in rubbing alcohol. Thoroughly clean any skin oil, lotion, or old glue from the metal post or cup. Let it air dry completely.

For the Pearl
Gently wipe the area around the drill hole with a soft, dry cloth. DO NOT use alcohol, acetone, or any harmful chemicals on the pearl directly. These substances will permanently damage the delicate nacre and ruin its shine.
Step 3: Do a "Dry-Fit"
Prior to using any glue, place the pearl back onto the post or into the cup. Check the alignment. Make sure it sits flush with the metal and is in the right position. This is the last chance you have to get the positioning perfect.
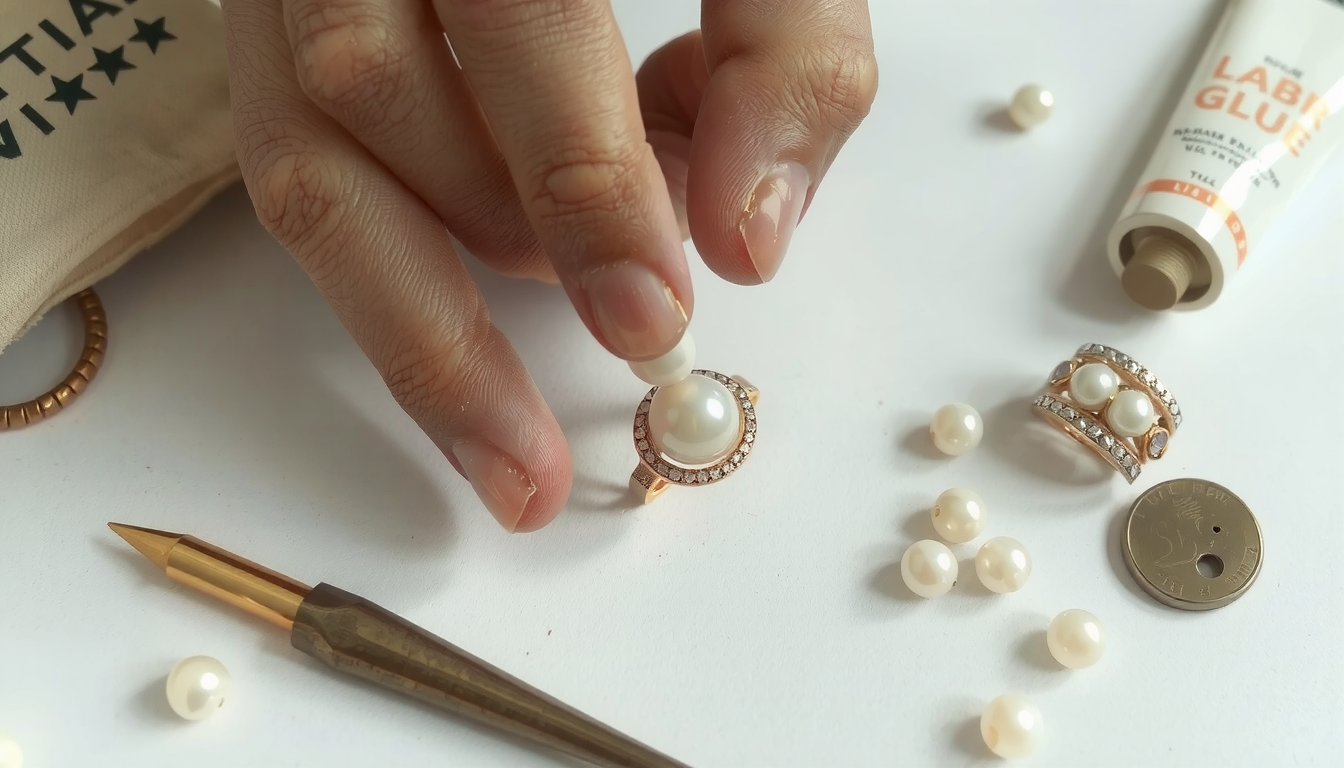
Step 4: Prepare and Apply the Glue
Now it's time for the glue.
If you are using a two-part epoxy, squeeze a tiny, equal amount of each part onto your scrap cardboard. Mix it thoroughly with a toothpick.
For a Half-Drilled Pearl
Using the tip of a toothpick or pin, apply a very small drop of your chosen pearl glue inside the drill hole. You can also add a tiny amount to the post itself.
For a Cup Setting
Apply a small, even layer of glue into the bottom of the metal cup.
The most important tip: less is more. Too much glue will squeeze out. This creates a messy residue that is very difficult to clean without damaging the pearl.
Step 5: Seat the Pearl and Clean Up
Carefully but firmly press the pearl onto the setting. Give it a slight twist to help the glue spread and create a solid bond.
Right away, check the ring for any "squeeze-out." Use a clean, dry toothpick to carefully wipe away any excess glue from the metal. Be extremely careful not to smear the glue on the pearl's surface.
Step 6: Stabilize and Cure
Place the ring in a piece of modeling clay or a foam block so the pearl faces up. It cannot be disturbed. Let the ring cure for the full time recommended by the manufacturer. This is the most important part—patience is everything.
A full cure means no wearing the ring, no water, no lotion, and no touching it for at least 24 to 72 hours. Waiting ensures the bond reaches its maximum strength.
Top 3 Mistakes to Avoid When Gluing a Pearl
Avoiding these common errors will greatly increase your chance of success.
- Using Too Much Glue: This is the number one mistake. It creates a messy, unprofessional finish. It can even weaken the bond if it prevents the pearl from sitting correctly.
- Not Cleaning the Surfaces: Skin oils, lotion residue, and old glue will prevent the new glue from working. This is a guaranteed way for the repair to fail.
- Not Waiting for the Full Cure: The "set time" (e.g., 5 minutes) is not the "cure time." The bond is still very fragile. Wearing the ring before the glue has fully hardened for 24-72 hours will break the bond.
After the Fix: How to Care for Your Pearl Ring
Now that your ring is repaired, proper care will prevent the problem from happening again.
- Put your pearls on last, after applying makeup, perfume, or hairspray. Take them off first.
- Remove your ring before working out, swimming, showering, washing dishes, or gardening.
- Gently wipe your pearl with a soft, damp cloth after wearing it to remove skin oils.
- Never use ultrasonic cleaners, steam cleaners, or harsh chemical dips on pearl jewelry.
Frequently Asked Questions (FAQ)
What's the best all-around glue for a pearl ring?
For the strongest, most durable, and water-resistant bond, a slow-curing, two-part jeweler's epoxy is the professional choice. It gives you plenty of time to position the pearl perfectly. It creates a bond that can withstand the stresses of daily wear. Using a proper jewelry glue for pearls is key.
Can I use Super Glue to attach my pearl?
We strongly advise against it for any ring you care about. Super glue is brittle and can crack with a small impact. It also has poor resistance to water. The fumes can damage the pearl's surface or leave a white "frosting" residue.
How long do I really have to wait for the glue to dry?
You must wait for the full cure time, not just the initial set time. For most epoxies and strong glues, this is 24 to 72 hours. Wearing the ring before it's fully cured is the most common reason a DIY repair fails.
The post on my ring is loose. Can I still glue the pearl on?
No. Glue is an adhesive, not a structural fix. If the post or any part of the metal setting is loose, bent, or broken, you must take it to a professional jeweler. Gluing a pearl to a loose setting will only result in losing the pearl again.
I got some epoxy on the pearl's surface! How do I get it off?
This is very difficult to fix without damaging the nacre. If the glue is still wet, you can try to very carefully wipe it with a dry toothpick. If it has cured, do not use solvents like acetone. Your best option is to take it to a jeweler. They may be able to professionally buff it off. This is why using a tiny amount of pearl glue is so important.


Leave a comment
This site is protected by hCaptcha and the hCaptcha Privacy Policy and Terms of Service apply.