
Written by Alya — jeweler, pearl maker, and the person who has ruined enough “practice pearls” so you don’t have to.

Still will happens even I work with jewelry for over 10 years
If you’ve ever tried drilling a pearl and ended up with a chipped hole, a crooked channel, or a “surprise breakthrough” on the back… welcome. Pearls are softer than most gemstones, but that doesn’t automatically make them easy. The goal isn’t just “a hole.” The goal is a clean, centered hole with smooth edges that won’t chew up your silk, split your nacre, or weaken the pearl over time.
This guide covers:
- What you actually need (beginner to pro)
- How to choose the drill point and drill depth
- A step-by-step drilling method that prevents blowout
- Special pearls (petal, baroque, star-shaped, and other shaped pearls)
- Handheld drill pens vs small benchtop pearl drills vs industrial systems
- Power comparison (280W vs 480W vs 600W) + drill bit tables
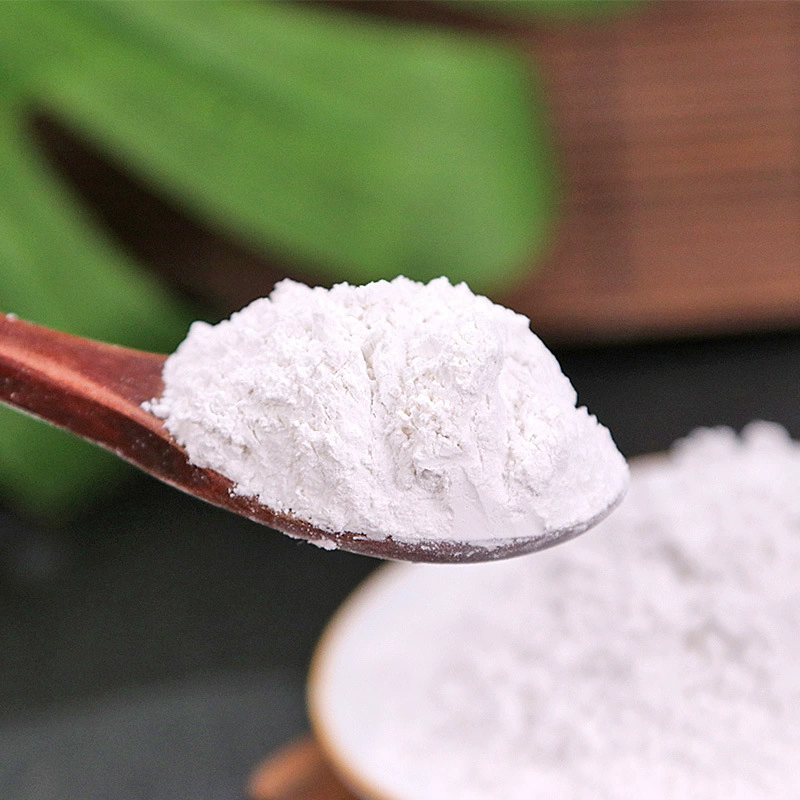
Quick safety note: Wear eye protection. Pearl dust is fine and chalky—don’t breathe it in. And always secure the pearl with padding (bare metal jaws will scratch).

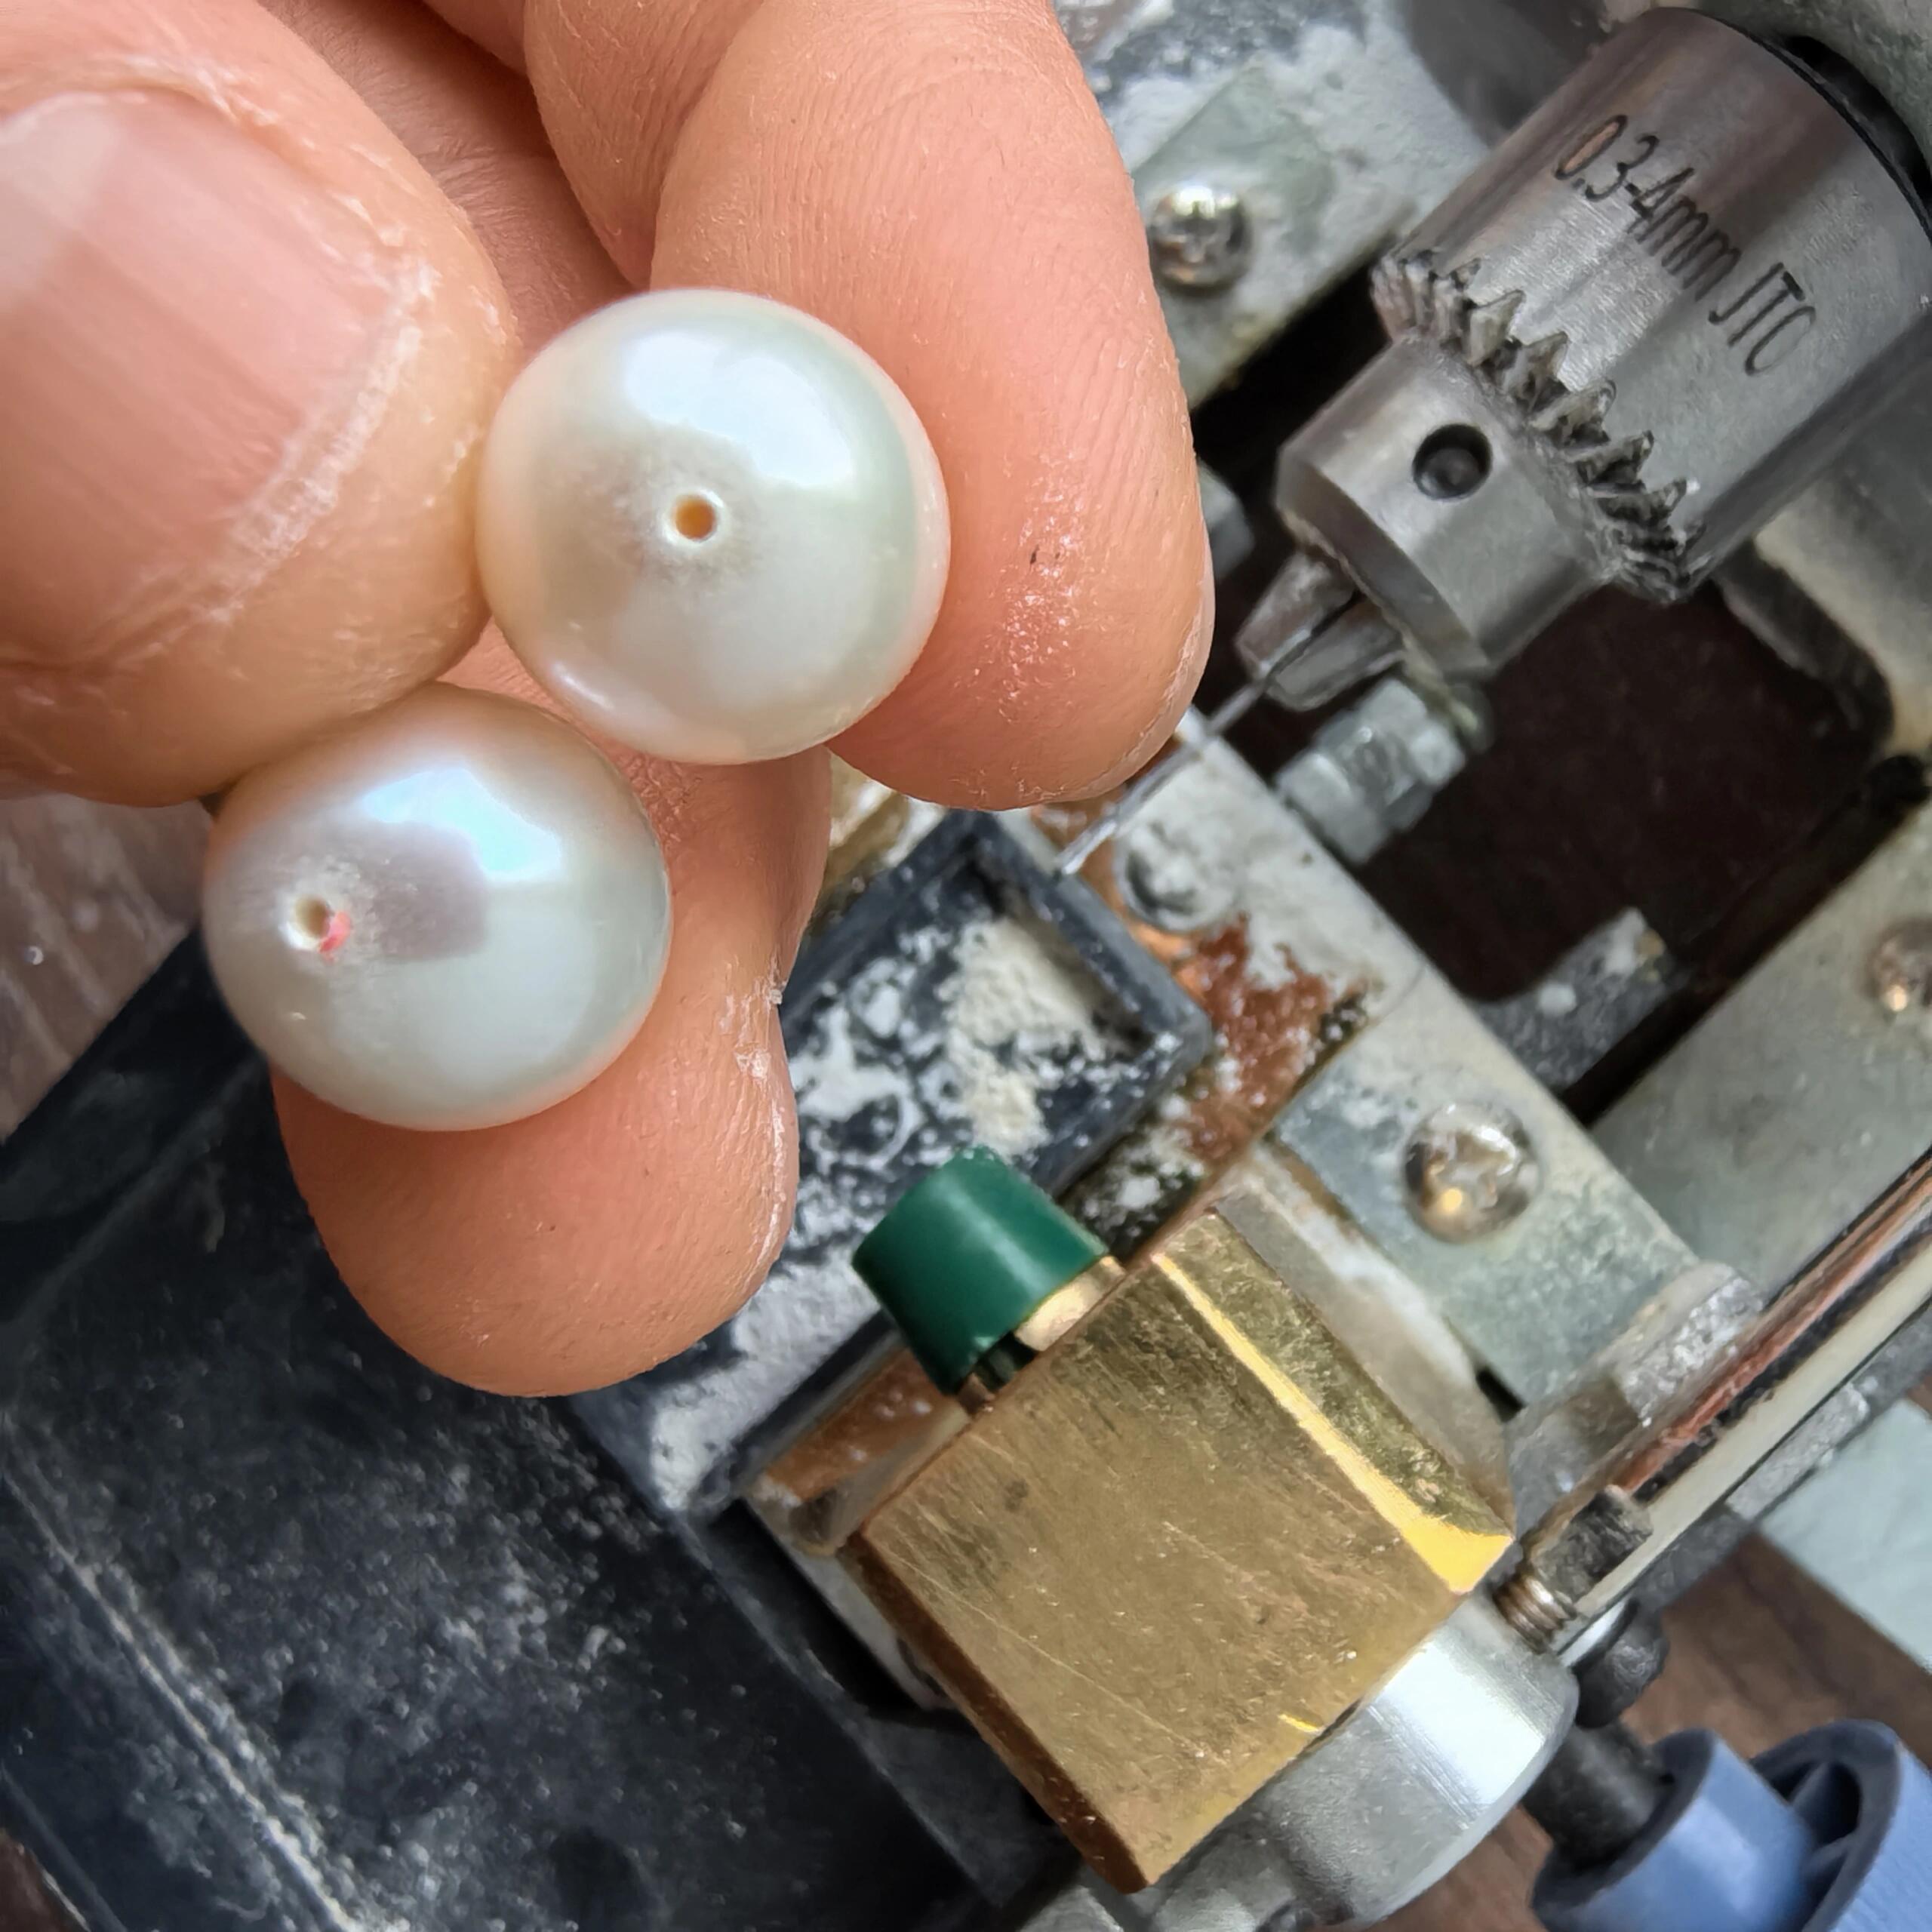
Freshwater pearl held to drilling with a driling pen; setup for how to drill pearls cleanly without cracking nacre, could works for every beginers
Before You Drill: Pearls Are Not Gemstones (and the “water” advice gets confusing)
Pearls are calcium carbonate with layered nacre. They’re also relatively soft and can scratch easily, and heat can cause discoloration or cracking. That’s why speed control and gentle pressure matter more than raw force.
You’ll see online advice that mixes pearl drilling with gemstone drilling. For stones, many professional guides recommend wet drilling (water/coolant) to control heat and flush debris. For pearls, you do not need a water-fed “lapidary-style” setup.
So should you use water when drilling pearls? Here’s the practical, real-world answer:
- You don’t need running water like stone drilling often does.
- You do need heat control and dust control. Some jewelers drill pearls dry at low speed with frequent “peck drilling” (in-and-out) to clear dust.
- I heard some new jewelry maker's also use a tiny amount of water (or drilling with the pearl just under the water surface) to reduce dust and keep things cool—without soaking the pearl for long and without letting water into the motor.
My “maker-friendly” recommendation: start dry (slow + gentle + peck drilling), and if you notice heat or dust issues, just wait a moment.

Tools You Need (Beginner → Pro)
Minimum kit
- Pearl holding tool: a pearl drilling vise/jig with padded cups, or a rubber-lined clamp (avoid metal-on-pearl contact).
- Variable-speed drill: handheld rotary tool, flex shaft, drill pen, or a small benchtop pearl drilling machine.
- Micro drill bits: typically around 0.6–1.5mm for stringing/posts, plus larger bits if you’re doing special mountings.
- Caliper (or micrometer): to measure post thickness, wire, or cord diameter before choosing hole size.
- Fine marker: for marking face + drill point.
Nice-to-have (makes your holes cleaner)
- Depth stop: a drill press stop, auto-stop function, or simple tape “depth flag” on the bit.
- Soft brush / air bulb: to clear pearl dust from the hole.
- Magnification: an OptiVISOR or desk magnifier helps you stay centered.
Measure First: Match Hole Size to Your Findings
Before you drill, measure the part that must fit into the pearl:
- Stud post thickness (often ~0.7–0.9mm, but it varies)
- Pin/peg thickness for pendants
- Wire/cord diameter for stringing
Rule of thumb: You want a snug fit. If the hole is too loose, the pearl wobbles and glue has to do all the work.
| Use Case | Typical Hole Strategy | Notes |
|---|---|---|
| Stringing on silk / beading wire | Start small, widen only if needed | Smoother hole = less fraying |
| Half-drilled studs | Shallow, snug hole (depth-controlled) | Use depth stop; avoid drilling through |
| Special mountings / large inserts | Step up gradually (multi-bit widening) | Don’t jump from tiny to large in one go |

How to Choose the Drill Point (Face, Axis, Balance)
Step 1: Pick the Better Side
The face is the side you want visible when worn. Rotate the pearl under light and choose the cleanest, most flattering orientation. Mark it lightly at the back side to keep the most shiny part visible.
Step 2: Decide the hole type
- Through-hole (fully drilled): for stringing or some pendant designs.
- Half-hole (half-drilled): for studs, pegs, and many mountings.
Step 3: Mark the drill site
For a through-hole, mark both sides so your drilling stays aligned. For a half-hole, mark the single entry point and set your target depth.
Step-by-Step: How to Drill Pearls Cleanly
- Secure the pearl. Use padded cups/jaws. Tight enough to prevent spinning, not so tight that you dent the surface.
- Align your bit perfectly. Start centered. If you start off-axis, the hole will never “fix itself.”
- Make a gentle starter bite. Use light pressure to “cut the skin” of the pearl. Let the bit do the work.
- Use peck drilling. Drill 1–2 seconds, pull back to clear dust, repeat. This keeps the hole cleaner and reduces heat.
- For through-holes: drill from both sides. Drill from the first side to the center, then rotate the pearl and drill from the other side to meet in the middle. This prevents blowout and crooked channels.
- Clean the hole. Tap out dust, brush lightly, and inspect the edges. If needed, widen gradually using the next bit size.
Pro tip from my bench: If the pearl dust starts compacting and the bit feels “sticky,” stop. Clear the hole. A stuck bit can bind and spin the pearl, scratching the surface.
Special Pearls: Petal, Baroque, and Shaped Pearls (Star, etc.)
Petal pearls (thin + flat)
Petal pearls are gorgeous, but they’re thin. The safest drilling point is usually near the thicker “base” area or along a thicker ridge. Consider a shallower half-hole rather than forcing a through-hole. Always depth-control.
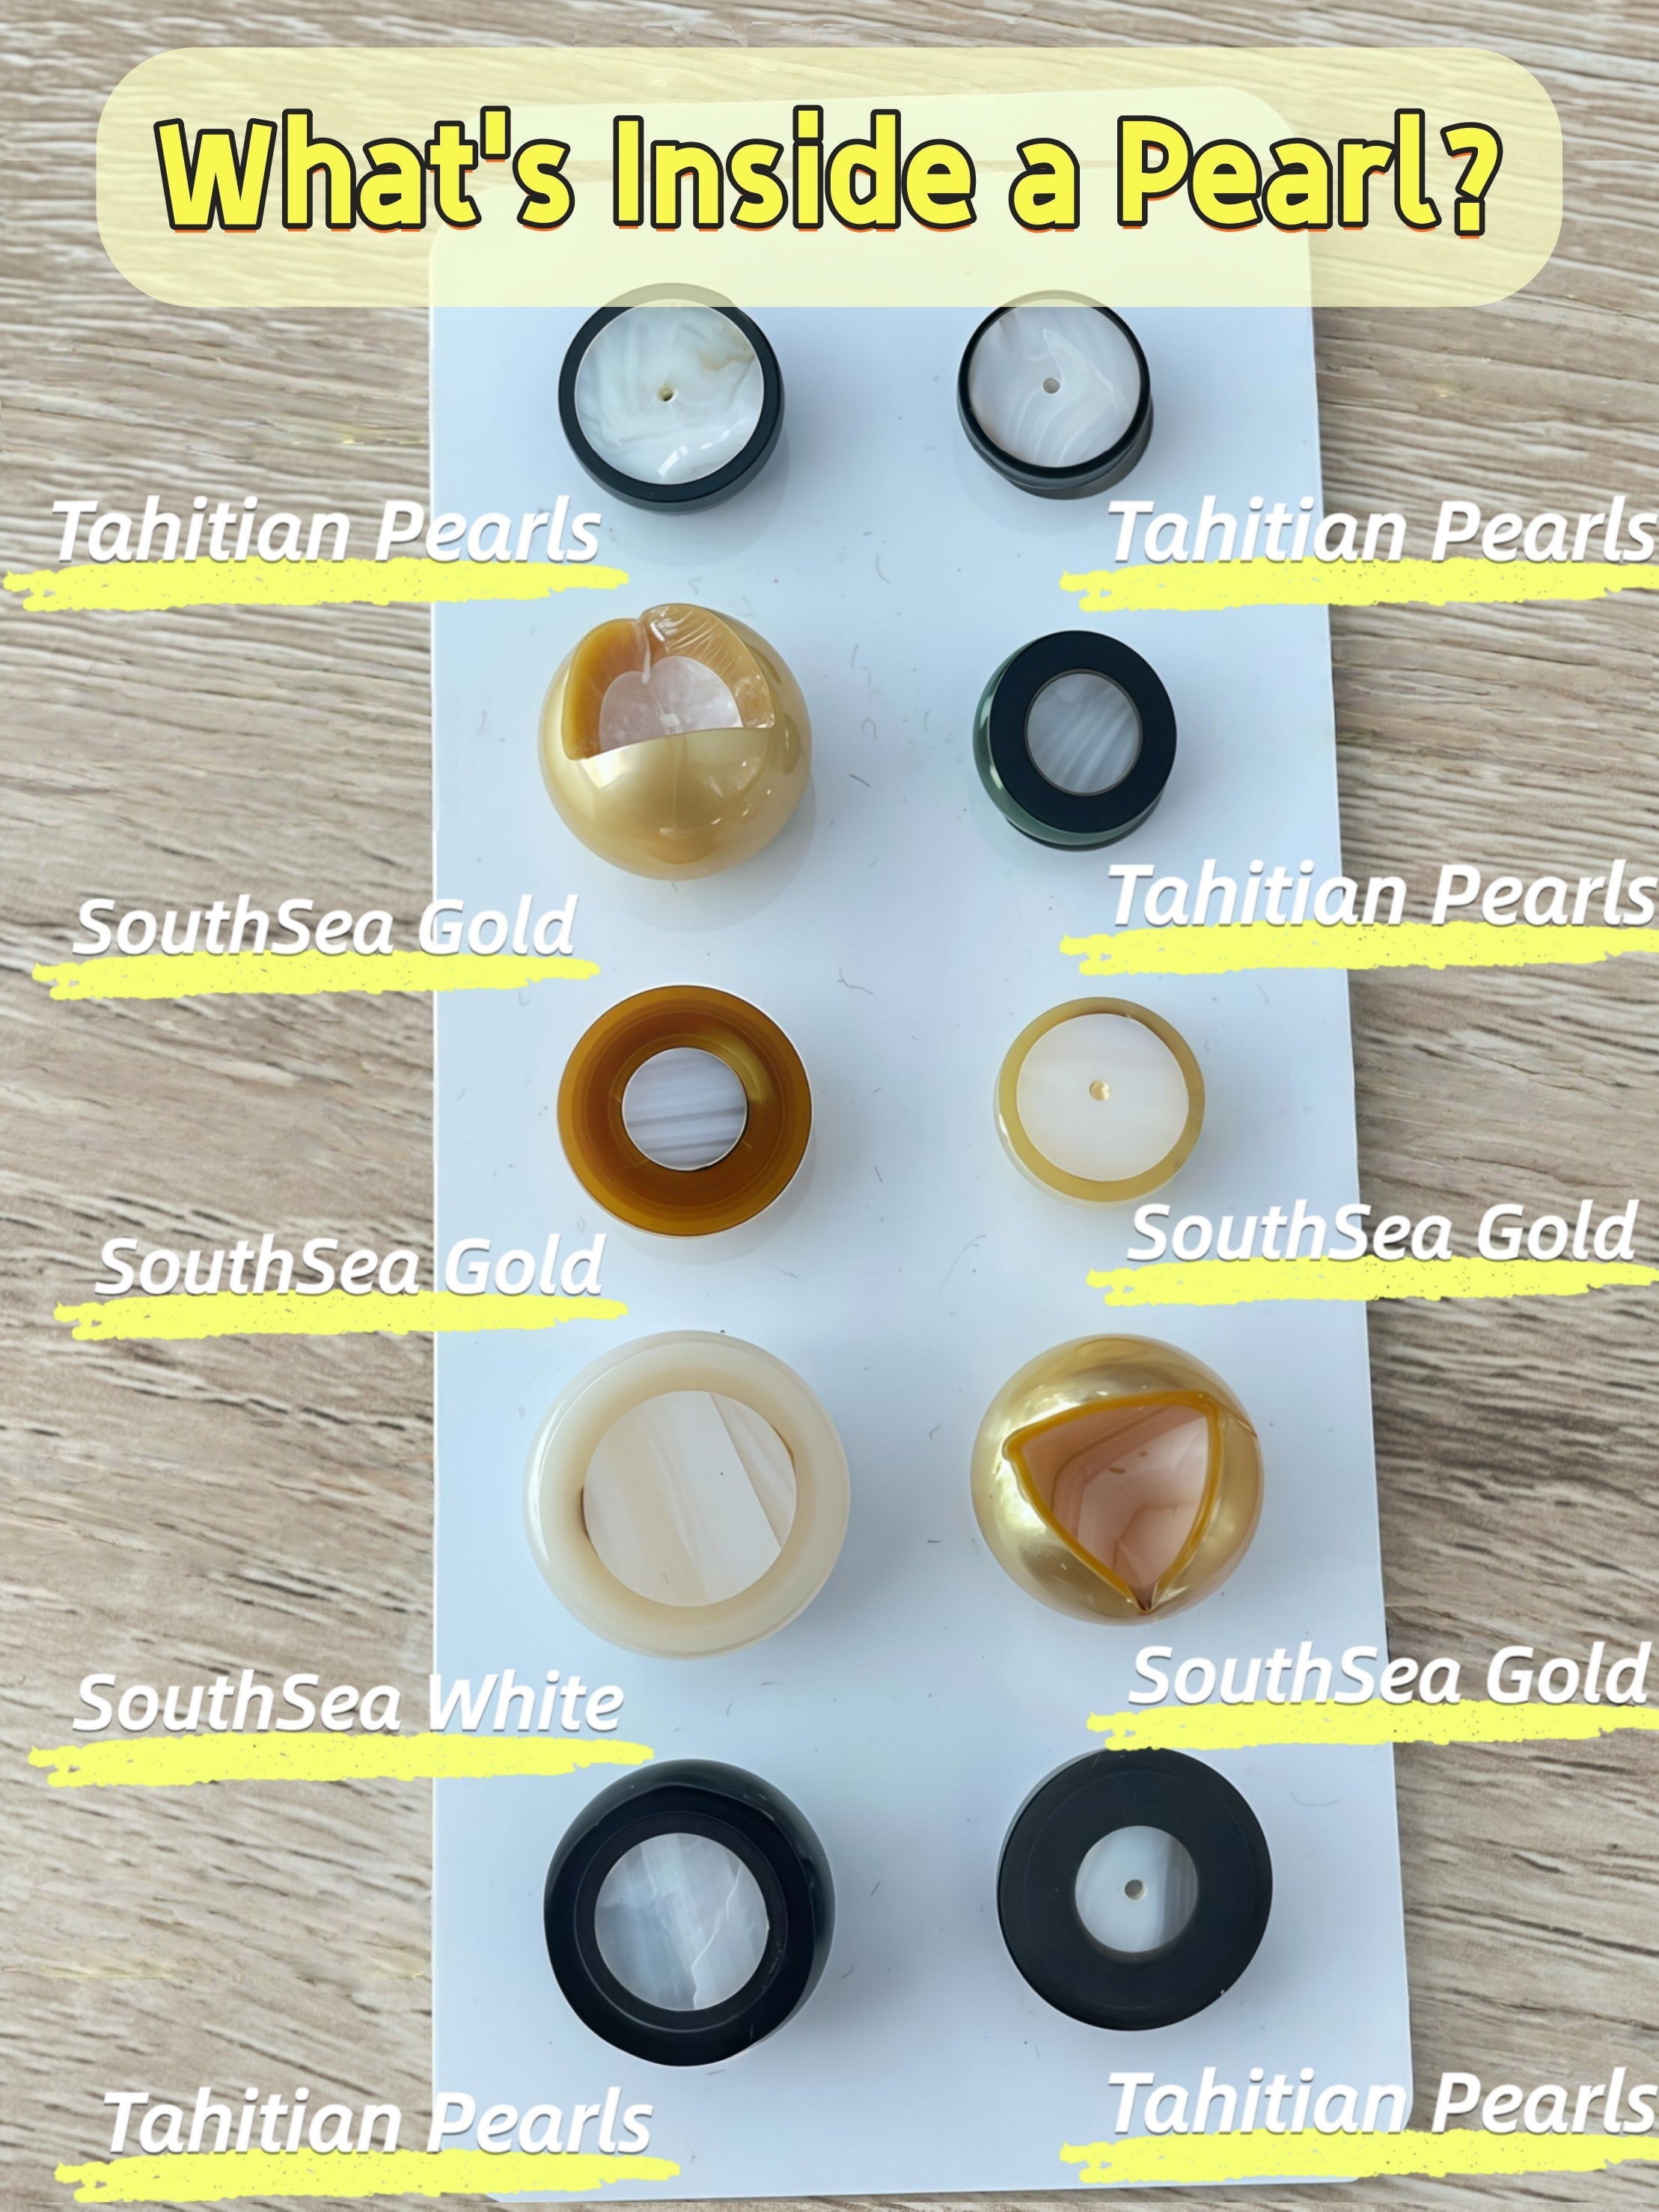
Baroque pearls (irregular + sometimes tougher inside)
Baroque pearls vary. Some freshwater baroques are mostly nacre, while many bead-nucleated pearls (common in saltwater cultured pearls) have a nacreous shell nucleus inside. When your bit hits that inner nucleus, resistance can change—so keep speed controlled and use a bit that stays sharp (diamond-coated or carbide options are common choices).
Shaped pearls for studs (star-shaped, etc.)
For studs, your biggest risk is drilling straight through the front. Before drilling, measure the pearl thickness at the intended point. Set a depth stop or tape marker on your bit. Drill shallow, test-fit, then deepen only if needed.
Pearl Drilling Machines (3 Levels)
1) Handheld drill pen (portable)
This is the “starter tool” for many makers: light, portable, and good for occasional single pearls. Downsides: less stability, easier to drift off-axis, and fatigue shows up faster during batches.
2) Small benchtop pearl drilling machine (most artisans)
This is the sweet spot for regular jewelry making: stable alignment, consistent vertical drilling, and better control for through-holes and repeat work. Add a good vise/jig and you’ll see your hole quality improve immediately.
3) Industrial pearl drilling equipment (batch production)
For high-volume drilling, industrial rigs prioritize speed, repeatability, and multi-station workflow (fixtures, presets, and fast changeovers). If you’re drilling hundreds to thousands of pearls per day, this is where you end up.
280W vs 480W vs 600W: What Power Really Changes
Wattage isn’t “quality,” but it affects how the motor behaves under load. Pearls don’t need brute force, but power can improve speed stability when you’re widening holes, working on tougher interior zones, or drilling batches.
| Power | Best For | What You’ll Notice | My Take |
|---|---|---|---|
| ~280W | Occasional drilling, single pearls | More speed drop if you press too hard | Great starter if you’re gentle and patient |
| ~480W | Regular making, small batches | More stable torque, less stalling | Best value for most artisans |
| ~600W | Frequent drilling, bigger holes, tougher work | Better stability during widening + long sessions | Choose it if you drill weekly and value efficiency |
Drill Bits for Pearls: What to Use (Comparison Table)
| Bit Type | Typical Sizes | Pros | Cons | Best Use |
|---|---|---|---|---|
| Micro twist drill | 0.6–1.5mm | Clean pilot holes, common sizing | Can bind if dust packs; needs peck drilling | Stringing holes, pilot holes, studs |
| Diamond-coated micro bit | 0.5–3.0mm | Good wear resistance; handles tougher zones | Can be “grindy”; needs gentle pressure | Baroque / bead-nucleated pearls, widening |
| Spade-style pearl bit | Often ~0.8–1.2mm | Designed to reduce chipping at the hole edge | Not as versatile for large widening | Clean entry holes; traditional pearl drilling |
| Step-up / widening bits | 1.1mm → 2.5mm → 3.0mm+ | Controlled enlargement, smoother edges | Requires patience and alignment | Mountings requiring larger inserts |
Why gradual widening matters: Jumping to a big bit too early is one of the fastest ways to chip nacre at the rim.

Mistakes & Fixes (Troubleshooting)
Chipping at the hole edge
- Cause: too much pressure, too fast, skipping bit sizes
- Fix: slower speed, lighter touch, step up gradually; support the pearl firmly
Crooked hole
- Cause: poor alignment, pearl not seated straight in the cups
- Fix: re-seat the pearl, re-check alignment from multiple angles before drilling
Bit getting stuck
- Cause: dust packing inside the hole
- Fix: peck drilling + frequent clearing with brush/air bulb
Overheating / discoloration risk
- Cause: high speed + friction + long contact
- Fix: slow down, pause, clear dust, and consider minimal water contact for cooling (keep motor dry; dry pearl immediately)

Video: Clean hole sizing (why pros widen gradually)
If you want to see the “step-up drilling” idea in action, this is a clear demonstration of widening a pearl hole in stages and checking fit as you go.
From My Bench to Yours (Alya Pearls)
If you’re building pearl pieces and want a reliable source for pearls, inspiration, and maker-friendly education, you can explore my studio at AlyaPearl.com. I share practical guides like this because better drilling and better finishing make pearls last longer—and that’s the whole point of working with a gem as delicate as nacre.
FAQ
Do I need water to drill pearls?
You don’t need a water-fed gemstone setup. Many makers drill pearls dry at low speed with peck drilling to clear dust. Some use minimal water contact for cooling and dust control—just keep the motor dry and don’t soak the pearl.
What size drill bit should I start with?
Start with the smallest bit that matches your plan. For many pearl workflows, a small pilot hole is standard, then widen gradually as needed.
How do I avoid drilling through a pearl for studs?
Measure thickness at the drill point, mark a depth stop on your bit, drill shallow, and test-fit before going deeper.
Why does my pearl chip at the hole edge?
Usually speed + pressure + skipping bit sizes. Slow down, support the pearl, and widen in stages.

Leave a comment
This site is protected by hCaptcha and the hCaptcha Privacy Policy and Terms of Service apply.