
Pearl Necklace Restringing Guide: DIY Jewelry Repair Tips
Stringing a beloved piece of jewelry by yourself gives you delight.
A beautiful pearl necklace that has been worn and loved may start to show its age. You save a precious family treasure by restringing it. You also immerse yourself in the craft of jewelry making.
But the question is how can one tell that the necklace requires this care? These are the signs to look for.
Key Takeaways
-
Inspect Your Necklace: Restringing is needed if you notice a stretched or dirty cord, loose pearls, and a weak clasp.
-
Get the Right Tools: Use a checklist to gather essential items like silk thread, a knotting tool, and a bead board for a successful result.
-
Set Up Your Workspace: Clean your pearls gently. Lay them out in the right order. Be in a comfortable, well-lit area before you start.
-
Learn the Knot: Follow the step-by-step process to stringing pearls, attaching the clasp, and making secure knots.
-
Fix Common Problems: Fix uneven knots, broken thread, and learn to avoid a stiff-looking finished pearl necklace.
-
The silk cord is stretched, showing gaps between pearls.
-
The knots look dirty, faded, or frayed.
-
The pearls move loosely between the knots.
-
The entire strand is weak or the clasp is loose.
If you have spotted these issues, it is time to do a refresh. This guide will provide you with detailed steps on how to make your freshwater pearl necklace. We will assist you in gathering tools and even give you instructions to tie the final knot. Professional techniques for the same can be learned at home in 2026.
Essential Tools & Materials for Pearl Stranding
Getting good results with the right tools is easy. It makes the process smooth and enjoyable. You will find below a complete list of items necessary to restring your pearl necklace.
| Item | Expert Tip |
|---|---|
| Silk or Synthetic Thread | Silk is traditional and is the best for knots. Synthetics are the high-quality ones that are longer-lasting. A size 'F' or '4' is perfect for most 6-8mm freshwater pearls. |
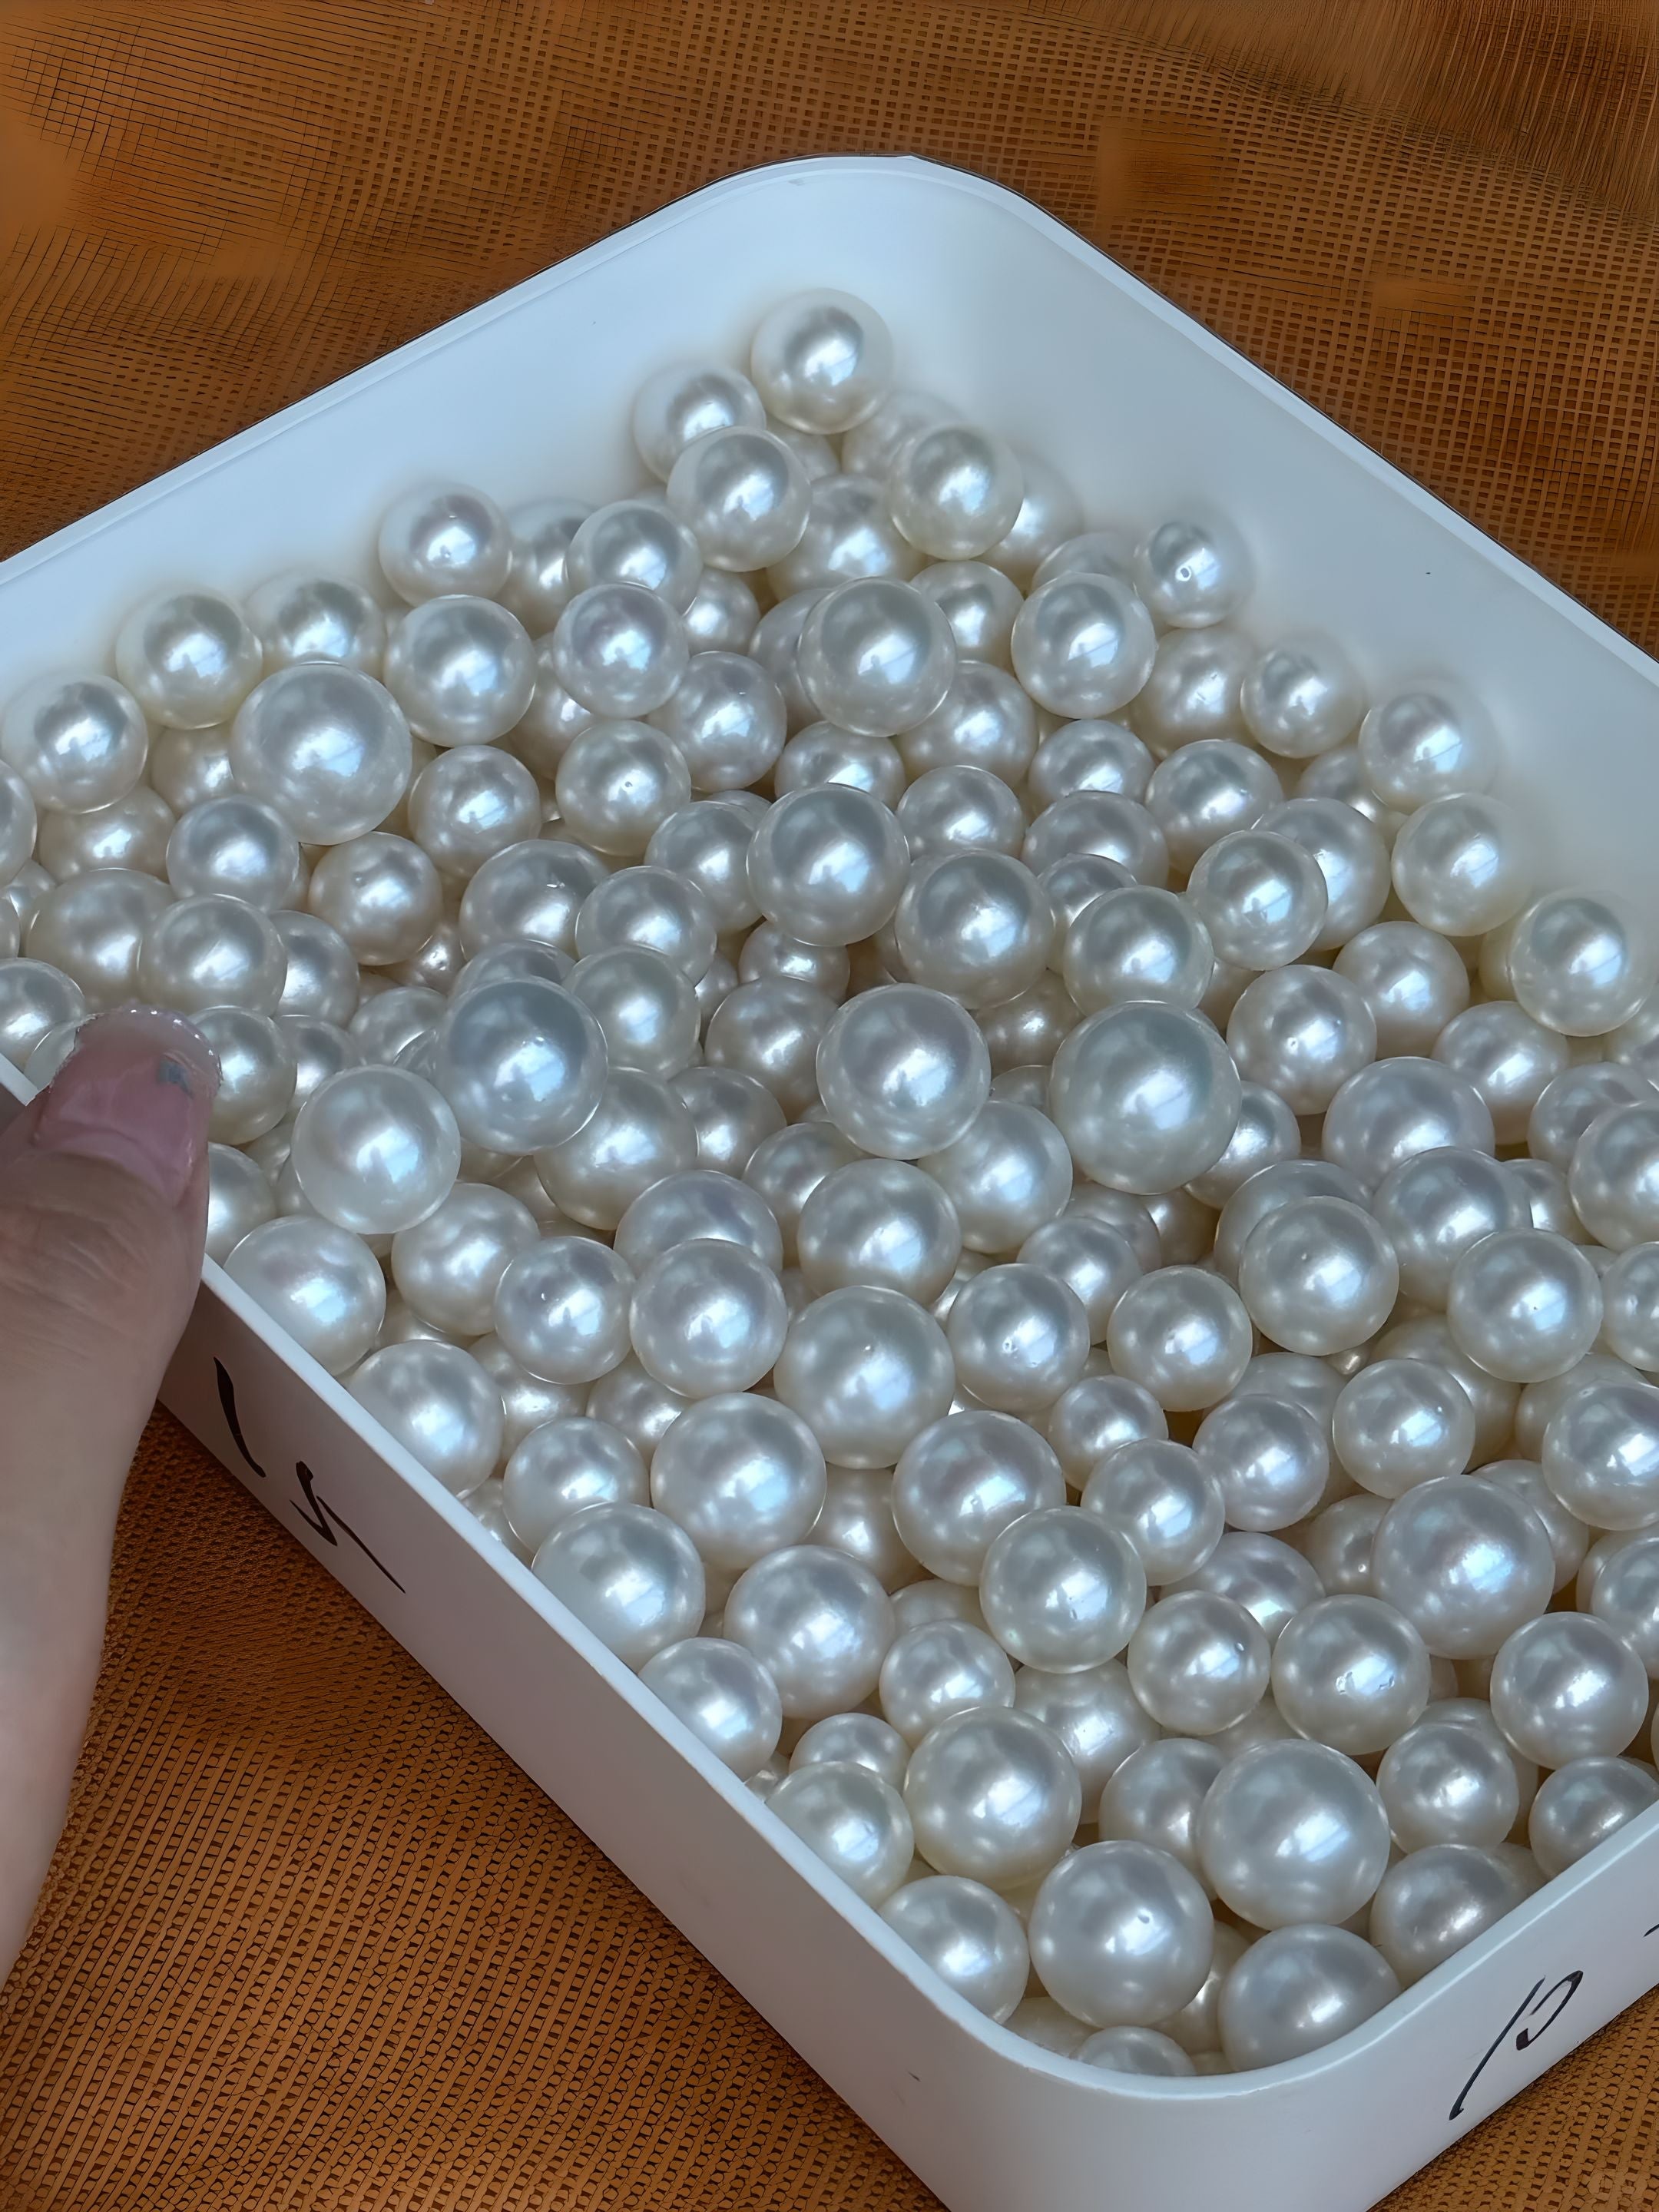
| Pearls | The pearls on your freshwater pearl necklace. |
| Beading Needles | Twisted-wire or "Big Eye" needles are flexible and very easy to thread. |
| Clasp | You can use a fishhook, lobster, or filigree clasp but first, ensure it is clean and in proper condition. |
| Knotting Tool or Tweezers | A knotting tool is the best for tight, even knots. Fine-tipped tweezers can also work. |
| Bead Board or Soft Towel | A bead board with channels to keep pearls in order is ideal. A light-colored soft towel is another option. |
| Sharp Scissors or Snips | For clean cuts on the thread. |
| G-S Hypo Cement | This jeweler's glue has a precision tip that is perfect for securing knots. Clear nail polish is another option. |
Prep School: Setting Up Your Pearls and Workspace
A small amount of preparation will create a huge difference. This step is often neglected by beginners. Yet, it is the secret to an error-free project. Taking time to prep helps prevent common mistakes and makes you less stressed.
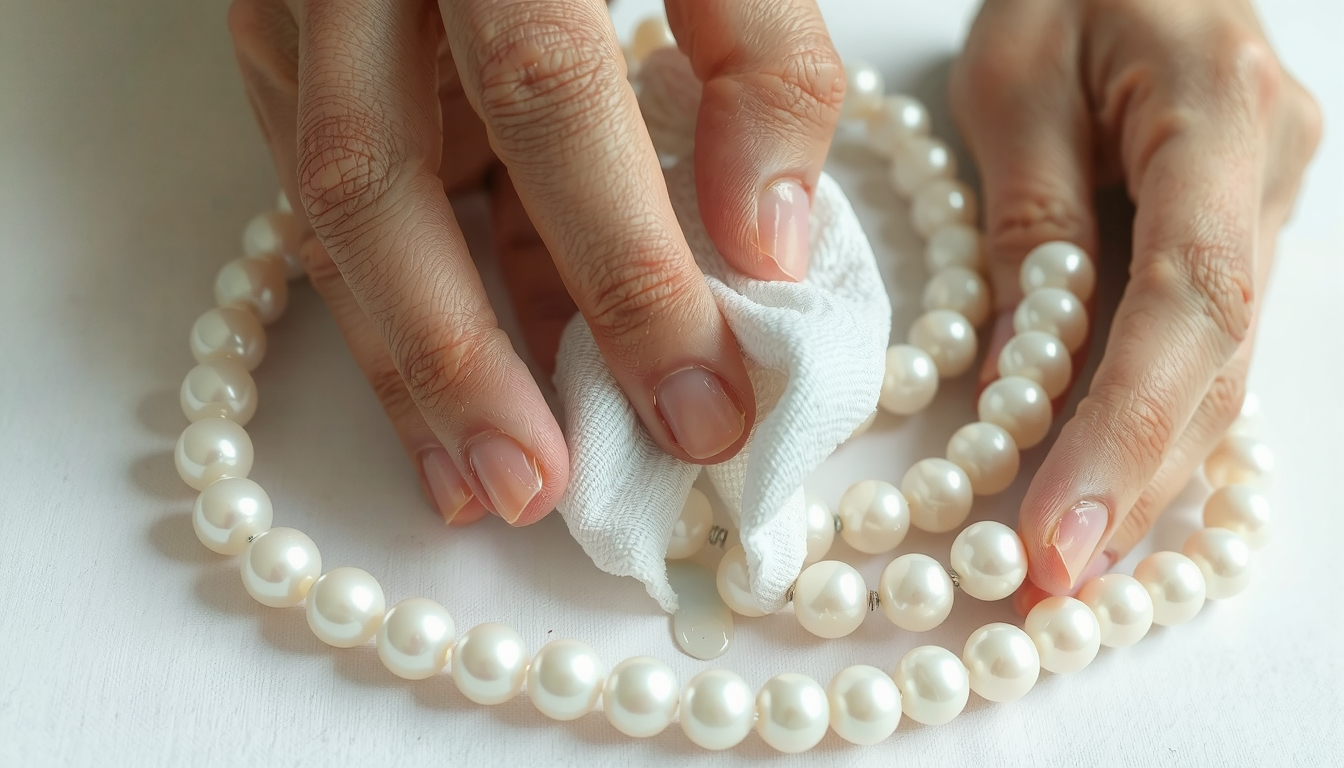
Cleaning and Inspecting Your Pearls
We first need to clean pearls. Utilizing a soft cloth that is only slightly damp with water, wipe each pearl gently. It is crucial to avoid soaking your pearls as it will weaken the silk thread and cause damage to the surface of the pearl.
As you clean, inspect each pearl. Proper care will help preserve the shine and surface of the pearls. These are two of the main GIA's pearl quality factors that determine a pearl's value and beauty.
The Layout: Arranging Your Pearls for Success
Now, lay out the pearls in the exact order in which you will string them. This is a critical step. If you possess a bead board, you can place the pearls in the U-shaped channel.
Without a board, lay them in a "U" shape on a soft towel. For a graduated pearl necklace, find the largest center pearl to begin with. The largest pearl will be the bottom of the "U." Other pearls will follow on each side. They should be arranged from largest to smallest.
Creating Your Zen Zone
Your workspace should be cozy and bright. Good lighting is essential for you to draw in the fine thread and the small details.
Get yourself a clean and spacious table. Ensure there is enough room for set up and place all your tools and materials within easy reach. This helps you stay focused and get into a smooth, steady rhythm.
The Art of Knotting: A Step-by-Step Guide to Your Pearl Necklace
Knotting a pearl necklace is a test of patience. The process is indeed straightforward once one gets into a rhythm. We'll simplify this classic method into easy steps. Before you know it, you will be able to create a safely and beautifully designed necklace.
Step 1: Preparing Your Thread
Measure your thread and cut it into the required length. It should be four times as long as the length you desire your necklace to be. That way, you always have extra thread with you.
For the thread, double it over and make a loop at one end. Put the loop through the eye of your beading needle that you should have ready. You'll be working with a double strand of thread for strength.
Step 2: Attaching the First Half of the Clasp
Now take the non-needle end of your doubled thread. Run it through the tiny ring on one half of your clasp.
Bring the clasp down along the thread and tie it off with three tight overhand knots. The knots should be stacked right on top of each other. If you want extra security, apply a tiny bit of G-S Hypo Cement on the knots and let it dry.
Step 3: Stringing and Knotting the First Pearl
It's time for the most significant part. Get your first pearl, slide it on the needle, and push it all the way to the end. It should stay resting on the knot which is connected to the clasp.
Afterward, use a thread to make a loose overhand knot. Remember, do not pull it tight yet.
Pick your knotting tool. Run the metal pin of the tool through the center of the loose knot. Move the tool and the knot down the thread until it is close to the pearl. Gently, pull the thread tight while holding the tool in place; then, remove the tool. The knot will now be tight against the pearl.
Step 4: Finding Your Rhythm: Knotting the Main Strand
You have already acquired the core technique. Now, you just have to repeat it. The process is meditative: String one pearl, do a loose knot, slide it tight, and repeat.
Go slowly and aim for uniformity. Each knot should be as tight as the others. This ensures that the finished freshwater pearl necklace will flow beautifully on your neck, with a great shape. The style of knots can vary based on different Pearl Necklace Styles: A Complete Guide. But this classic technique is the most versatile.
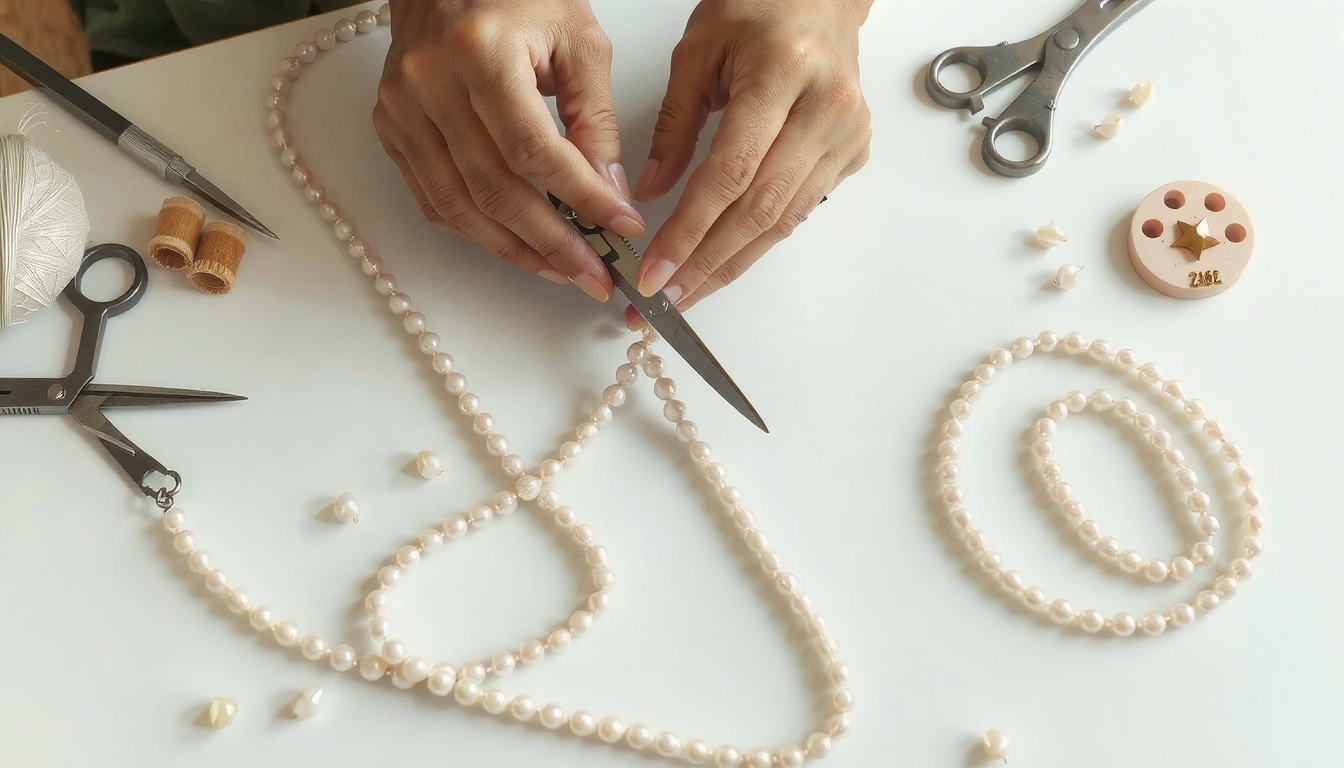
Step 5: Finishing Touches: Attaching the Final Clasp
When there is one pearl left, put it on. After that, thread the needle through the ring on the second half of your clasp.
Then loop the needle back through the last pearl. Pull the thread, so the clasp fits snugly against that pearl. Now, tie securely two or three knots between the last pearl and the clasp.
To complete, weave the needle and the remaining thread through the last two or three pearls. Gently pull the thread and trim the excess with your sharp scissors. Cut it as close to the pearl as possible. The tail will be hidden in the bead hole. Your beautifully restored pearl necklace is complete!
Common Pitfalls & Pro-Level Fixes
Even if you have worked carefully, you could have a few issues. Here is an expert's cheat sheet for solving some common problems for starters.
What if I have uneven knots or they have spaces?
This is when there is no constant tension. The solution is to pull the thread with the same force level every time you tighten a knot with your tool. First, practice with a few cheap beads on a spare piece of thread. Doing this helps you to develop muscle memory.
I broke the thread! Is it ruined now?
Don't worry! This is a common learning issue. Carefully unstring the pearls and lay them out in the correct order on your bead board or towel. Then, simply start over with a new piece of thread. It is frustrating, but it is part of the process.
My finished pearl necklace looks stiff.
This is when your knots are tied too tightly. The goal is that knots are to be snug, but not so tight that they suffocate the pearls. A well-strung pearl necklace should have a soft, fluid movement that stays with the neck's contour. Light but consistent tension is the secret.
And you could also view our jewelry restore page to ask help, we will glad to assist!
https://alyapearl.com/pages/jewelry-restore
Frequently Asked Questions (FAQ)
How often should a pearl necklace be restrung?
If you wear it regularly (like once a week), we suggest restringing every two to three years. You should also redo it whenever you notice signs of stretching or discoloration in the thread. For a pearl necklace worn only on special occasions, every five years would be a good benchmark.
Can I strand a pearl necklace without knots between each pearl?
Although you can, it is not recommended. The knots are essential. They protect the pearls from rubbing against each other, which eventually could damage their smooth surface. Knots are also the reason why all your pearls won't scatter all over the floor in case the strand is broken. Knotting is the hallmark of a quality pearl necklace.
What is the best thread for a freshwater pearl necklace?
100% silk thread is the traditional and the most favorite one. It is robust and makes very tight, perfect knots. Yet, modern synthetic options such as PowerPro or SO-NO-MA are also great options. They offer superior durability and resistance to stretching from moisture or wear.
What is the cost of restringing a pearl necklace by a professional?
In 2026, the cost of professional restringing will normally be about $3 to $10 per inch. The amount will depend on the jeweler in charge of the work and whether knots are required between each pearl. Learning to do it yourself can be a significant cost-saver, especially if you have more than one necklace.
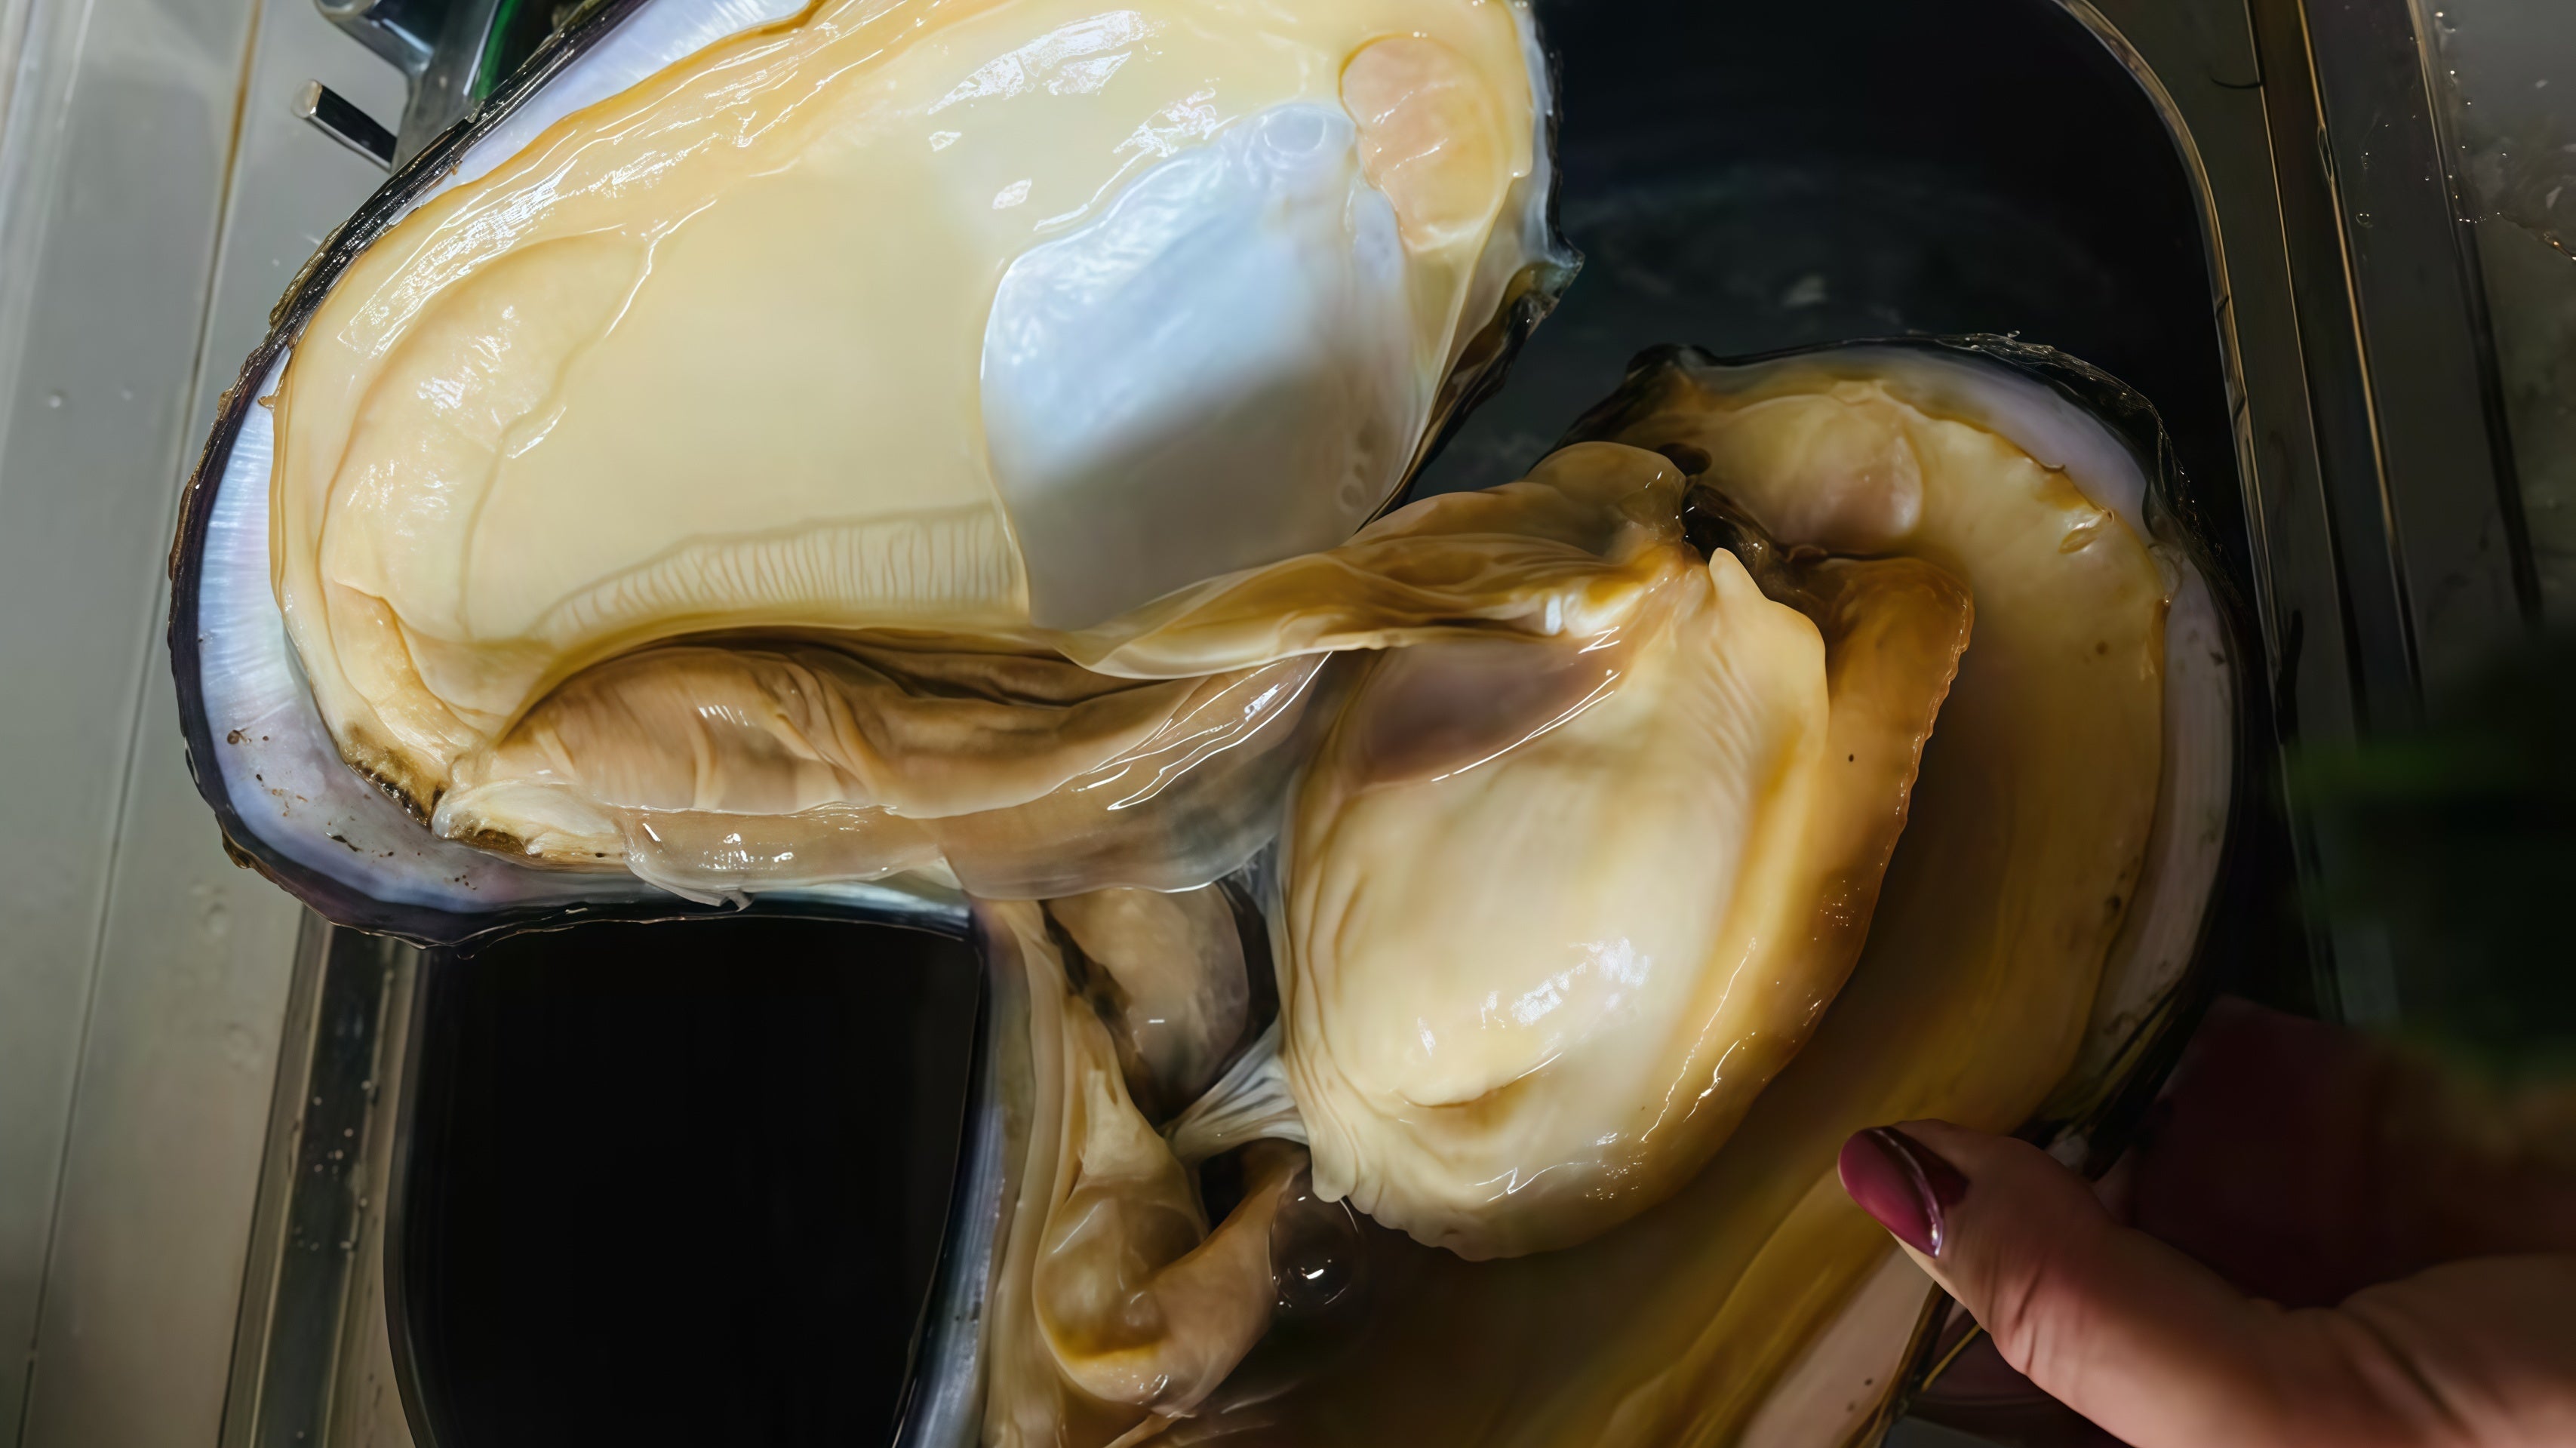
Can I use these techniques for other varieties of pearl necklaces such as Akoya or South Sea?
Yes, absolutely. The knotting method mentioned in this guide is the same as the one used by the professionals. It is applicable to all types of cultured pearl necklaces, such as the valuable Akoya, Tahitian, and South Sea pearls. The steps are the same.


Leave a comment
This site is protected by hCaptcha and the hCaptcha Privacy Policy and Terms of Service apply.